FAL Review: Coonan, Inc. 2009 FAL Receiver
(updated 04-09-2020)
Introduction
Dave Neville, of Coonan Inc., showed me their new Metric Type III receiver at the 2009 SAR show. I received one shortly after the show for testing and evaluation. This review examines the receiver for dimensional correctness, cosmetic appeal, and ease of assembly. I am known in the industry as an incredible nitpicker, but I differentiate between those things that are problems and those things that have no functional relevance but may improve the product. I have no financial interest in Coonan Inc., but as one of the country’s best known FAL builders, I have a general interest in there being high quality receivers available to my customers, as it makes my job as a custom gunsmith and FAL armorer so much easier.
Dan Coonan has a long history in the firearms manufacturing industry, previously making FAL receivers on the Dan Coonan Industries (DCI) name, for Federal Arms Corp (FAC) and AK receivers for Nodak Spud. See my review of the FAC receiver, also on this website.
The receivers start as a rough casting and are finish machined. When FAC was forced into bankruptcy, DCI lost access to the casting molds. FAC’s sales manager, Harlan Ekre, went on to form NoDak Spud, co-located with DCI, and to sell AK receivers made under the DCI manufacturing license. Nodak Spud then moved into their own facilities and began marking their AK and AR receivers under their own name and manufacturing license.
While the FAL receiver was always on the back burner, the incredible sales volume of AK receivers made it impractical to deal with at the time. When demand for AK receivers slowed a bit in 2009, Dan Coonan and Dave Neville were able to give the FAL receiver the attention it needed. As you will see from this review, they did a fine job.
Initial Inspection
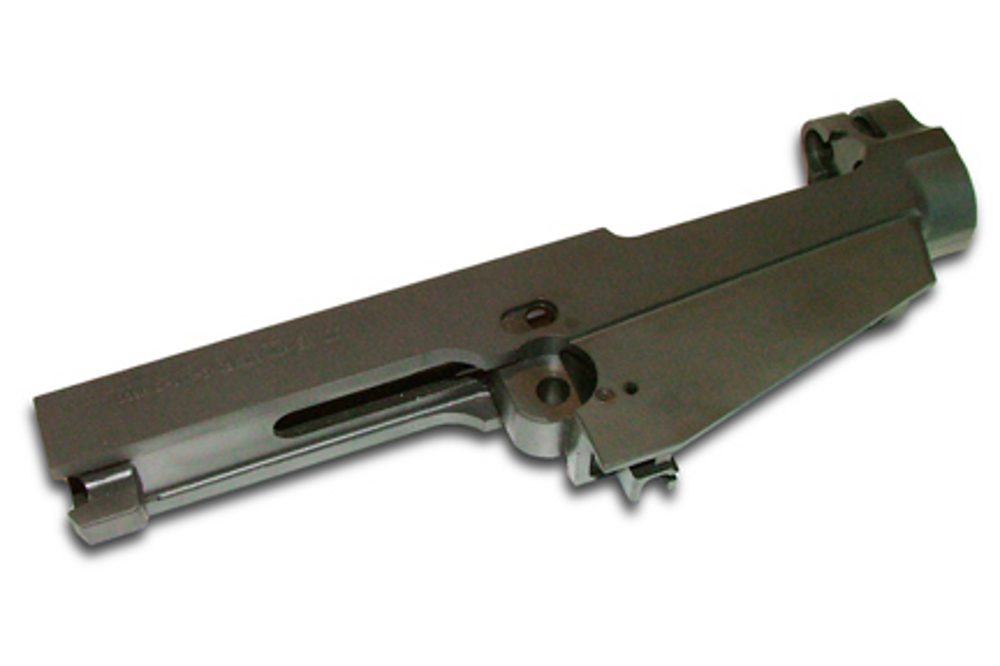
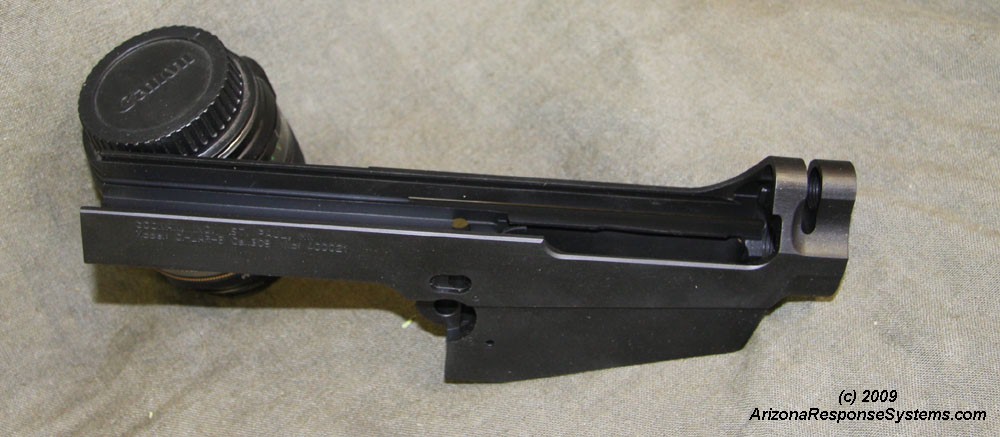
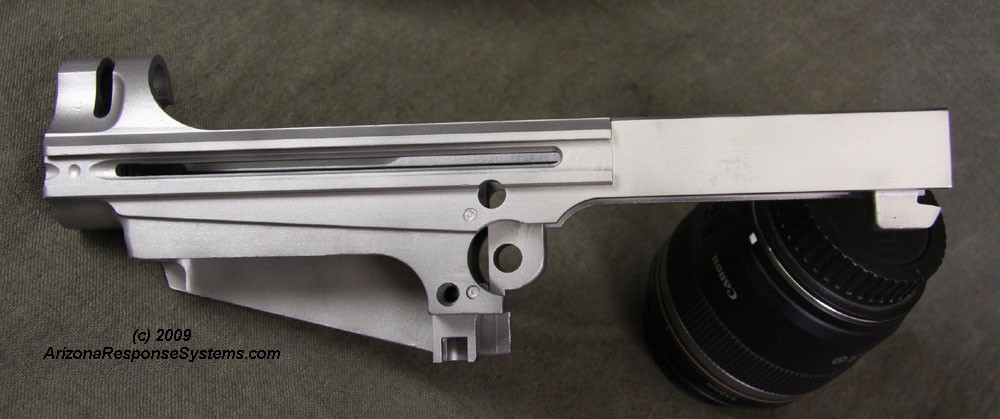
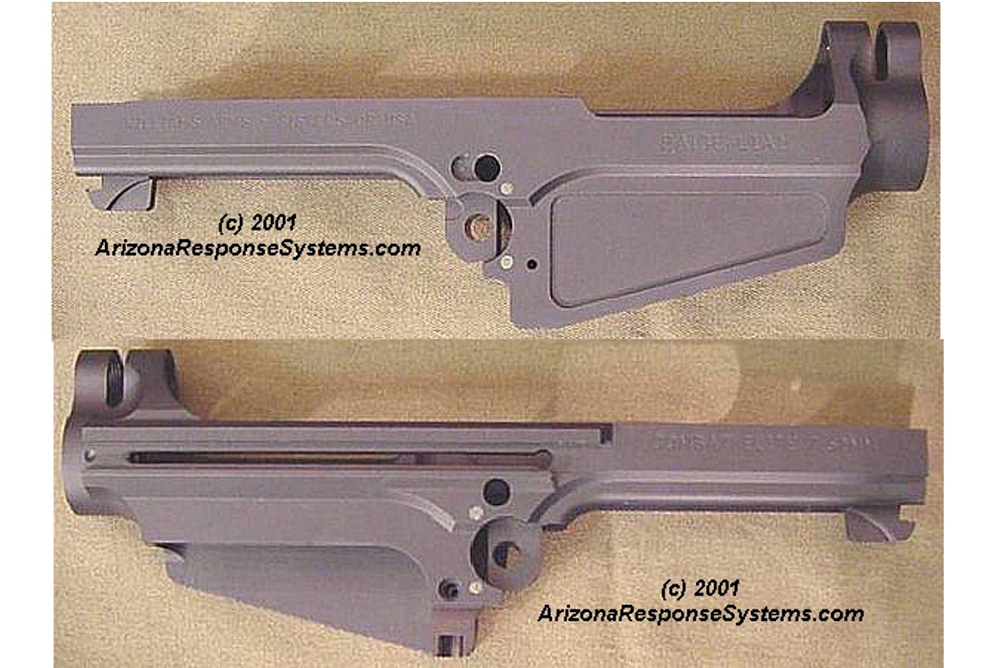
The finish is a uniform satin black oxide. Machining is clean inside and out.
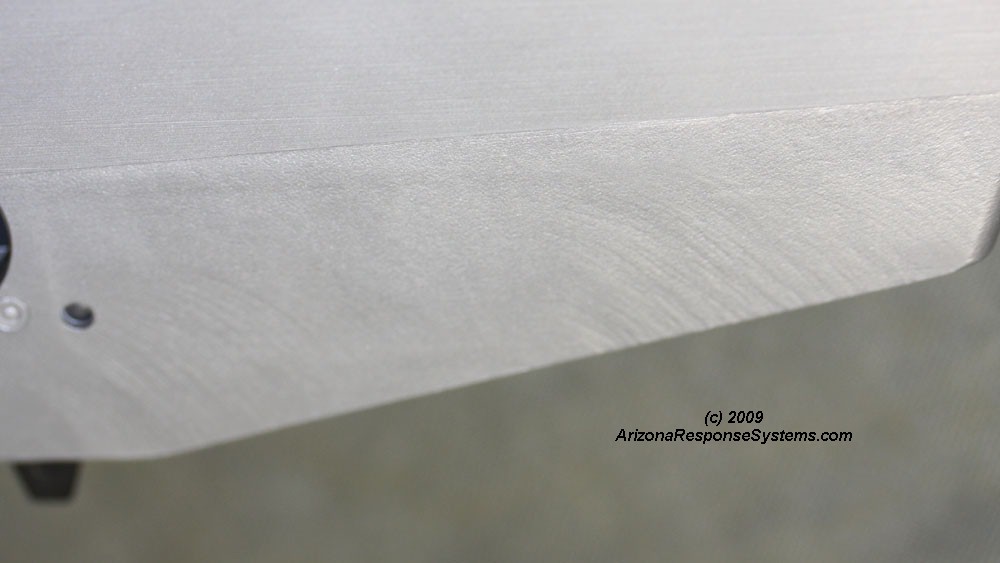
To better photograph the details, I sand-blasted the receiver and then followed with a super-fine bead-blast. This will accentuate any machine marks that would be hidden by a dark finish.
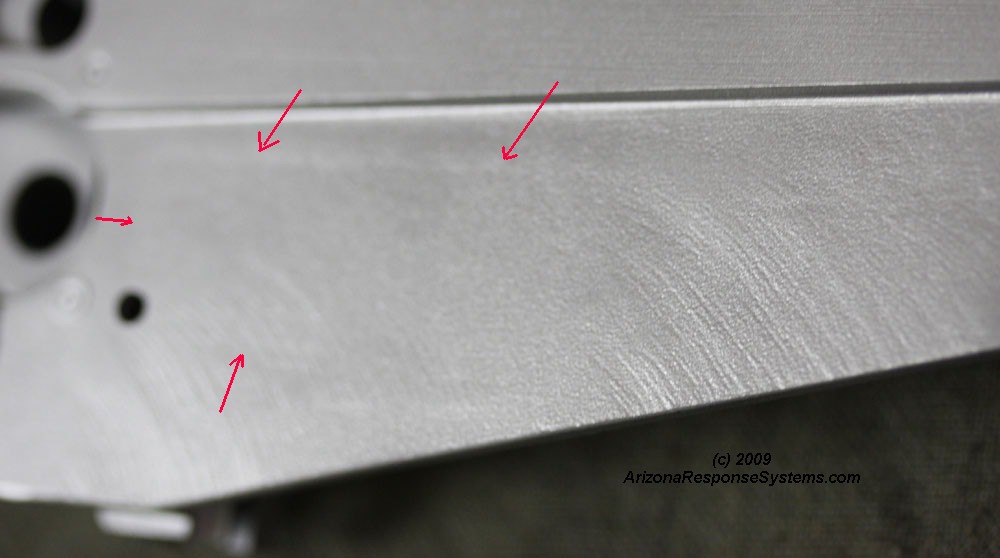
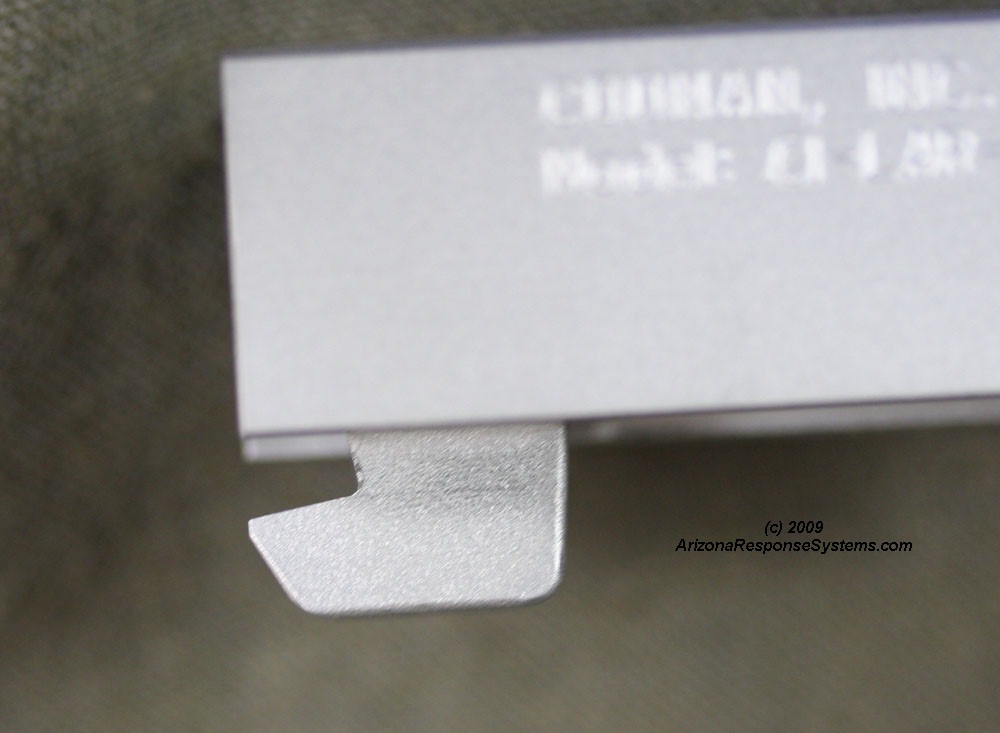
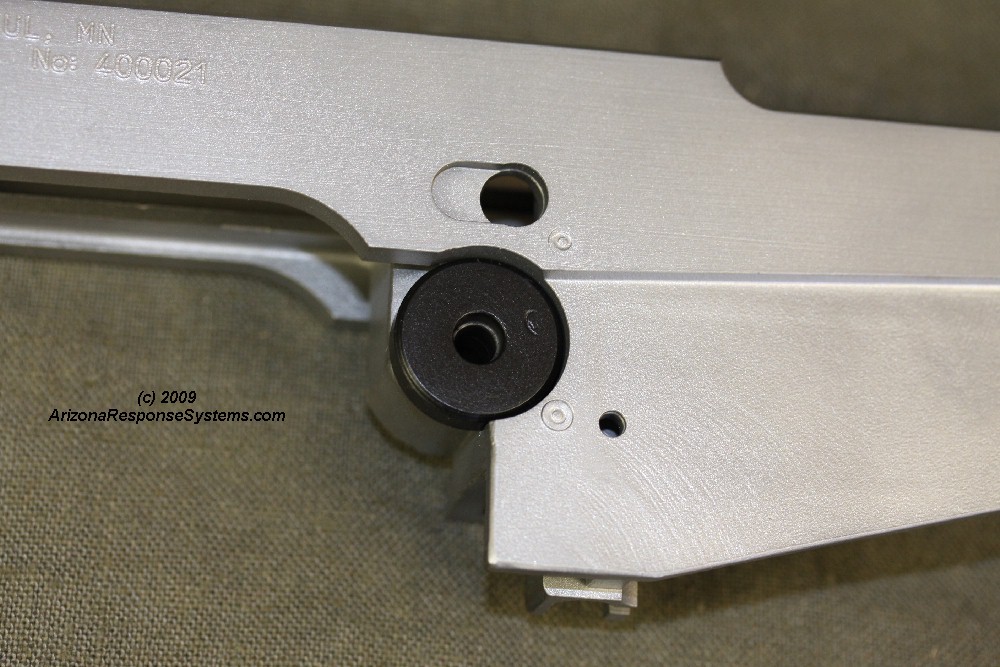
Closeup, outside magazine well. The slightest shadow can be seen here indicating an area on the original mold that was plugged. I speculate that it could be an early location for the manufacturing markings. The finish work on the outside of the magazine well is a little rougher, showing marks from a 36 or 60 grit sanding wheel.
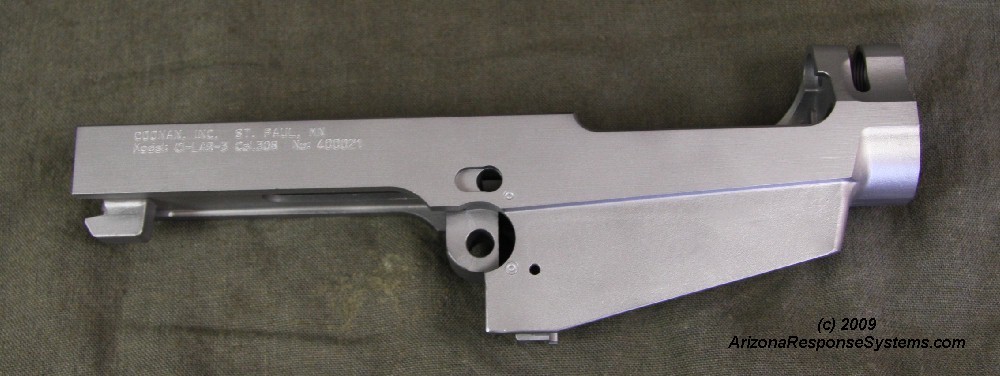
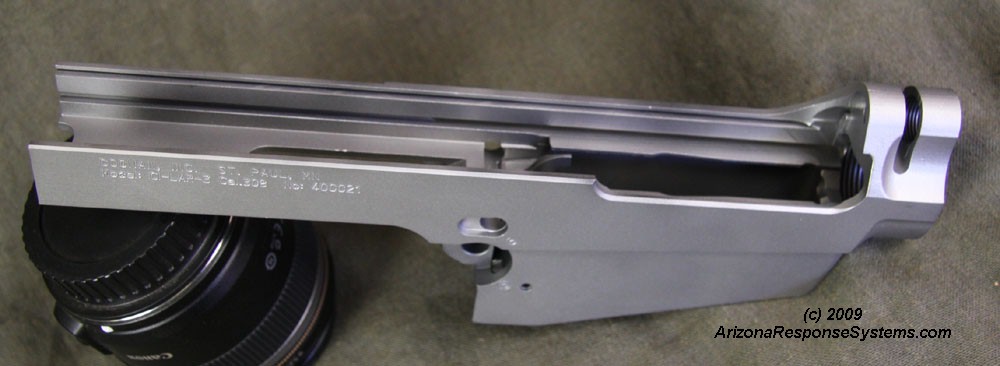
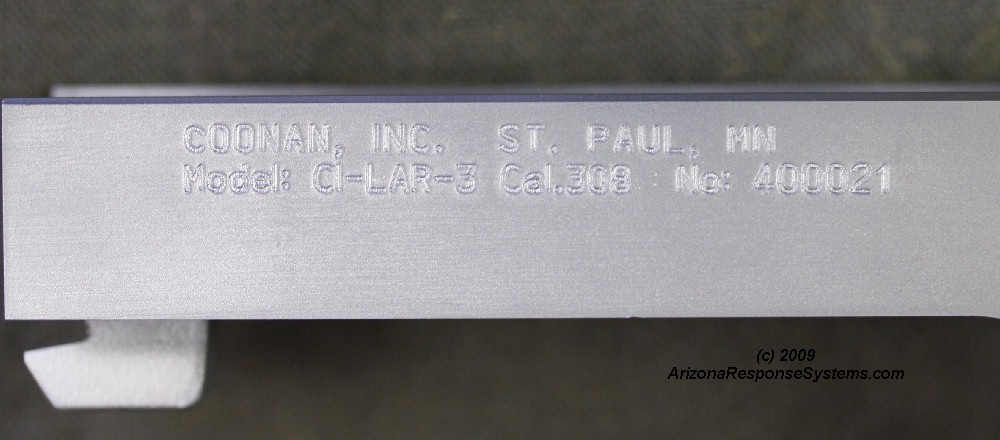
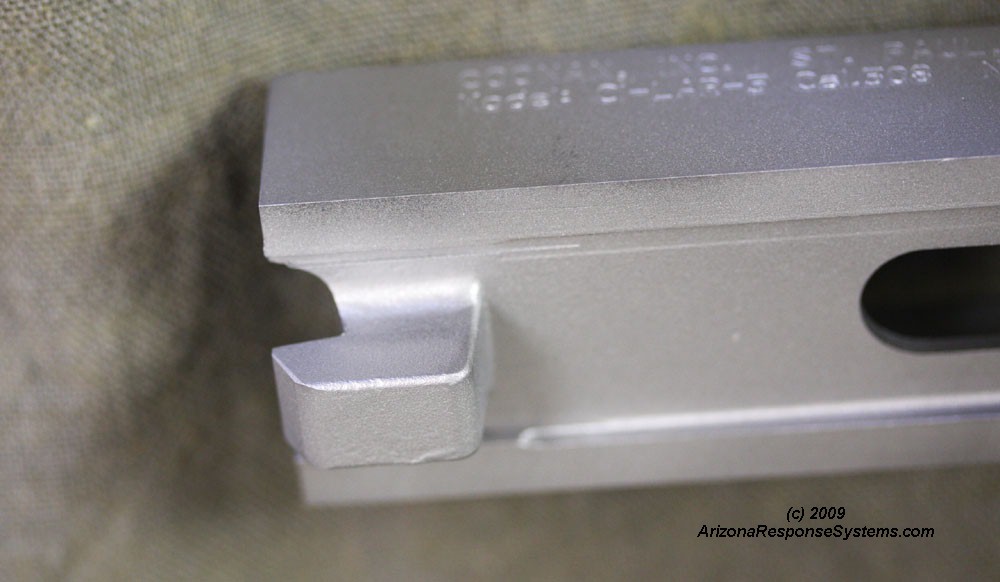
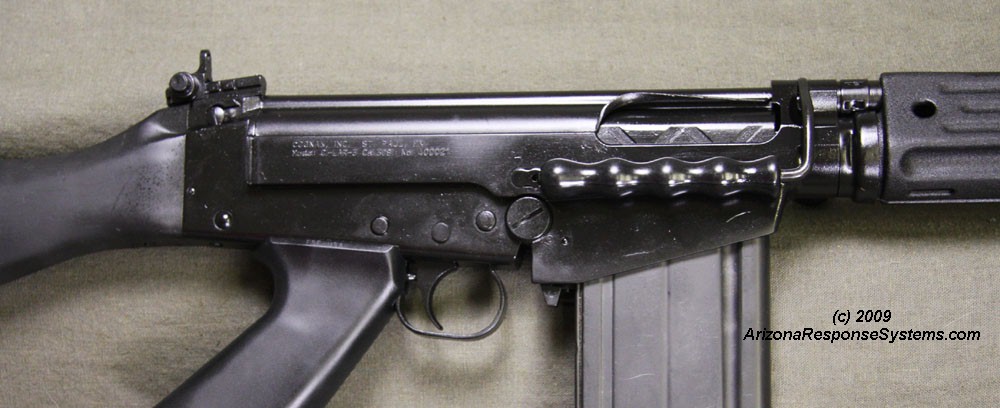
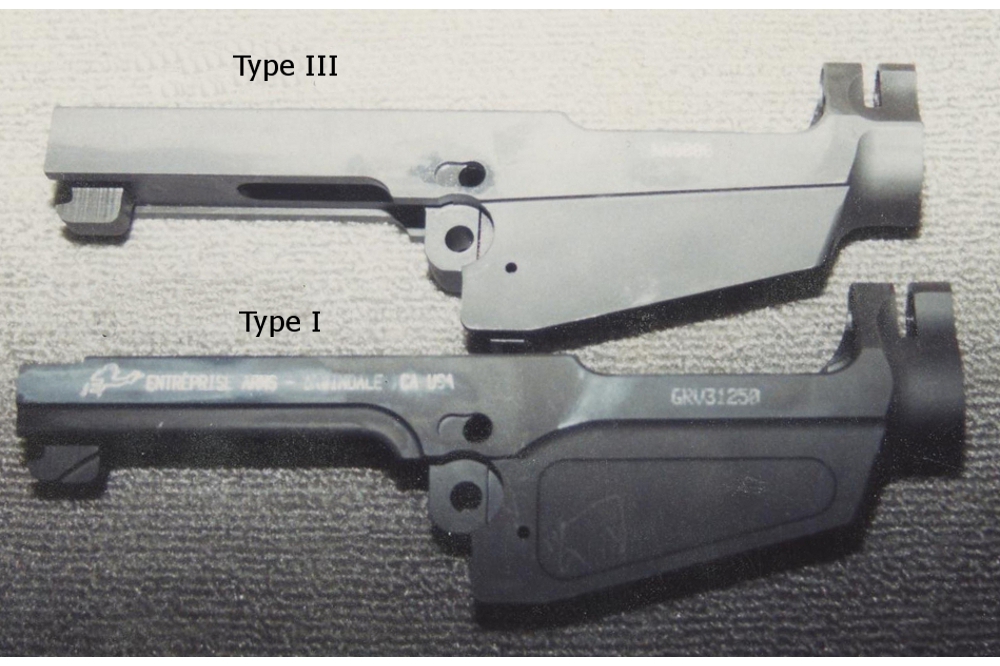
The model is C1-LAR-3. “LAR” is one of the many names for the FAL – “Light Automatic Rifle” and “3” means this is a type III receiver. The manufacturer markings are small and positioned to allow Type I or Type II lightening cuts as a possible future option.
Receiver ring, side view. Excellent transitions.
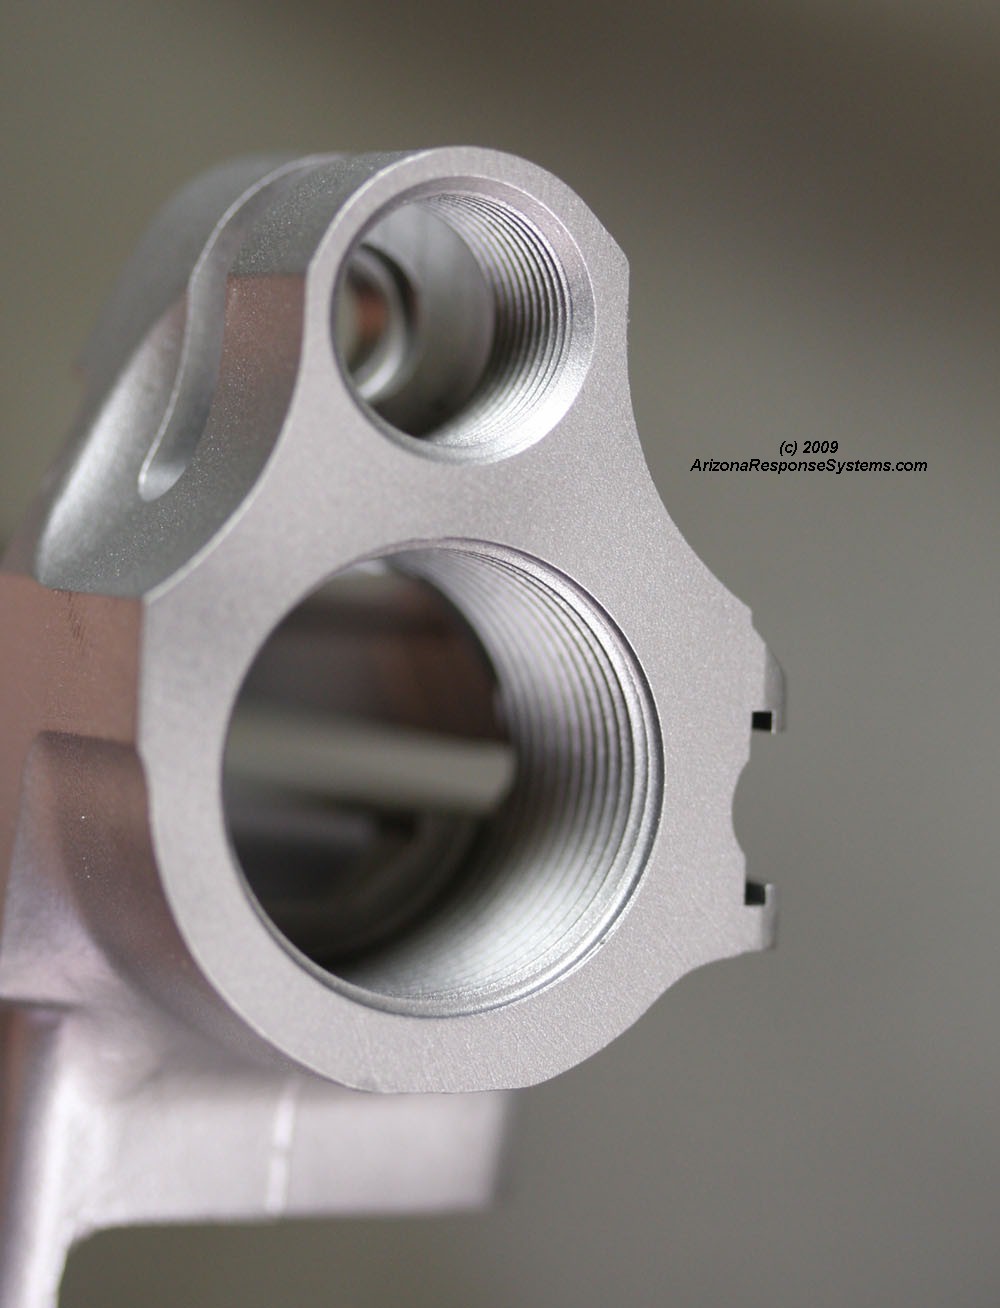
Front view of receiver ring.
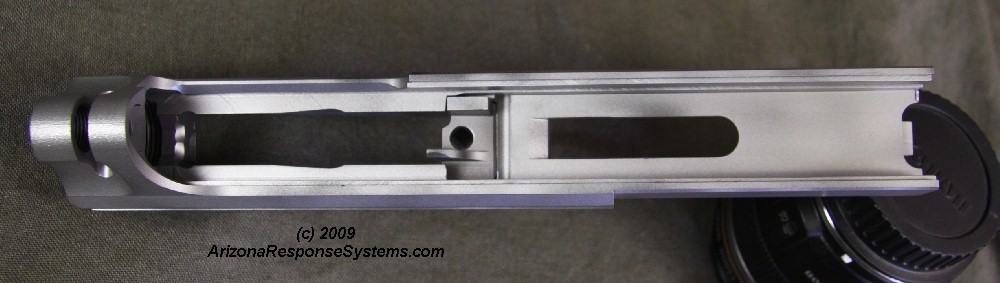
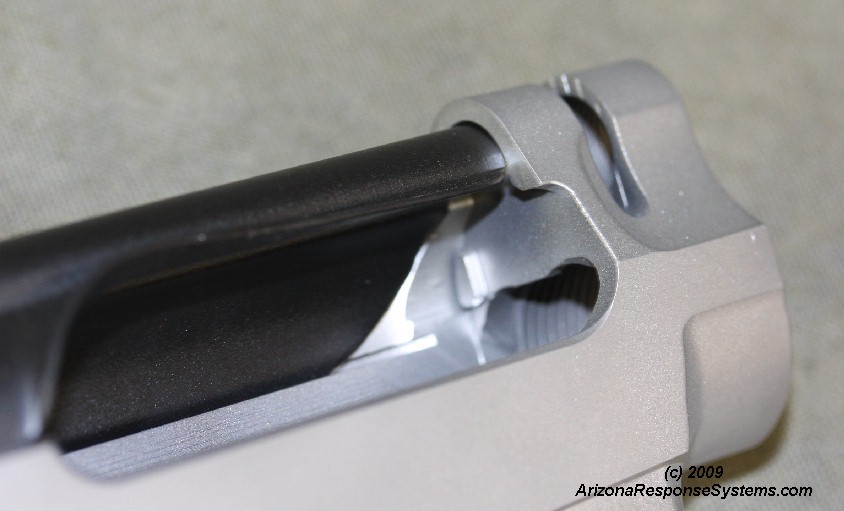
Inside view of receiver ring showing feed ramp. The platform on the left limits the bolt carrier travel.
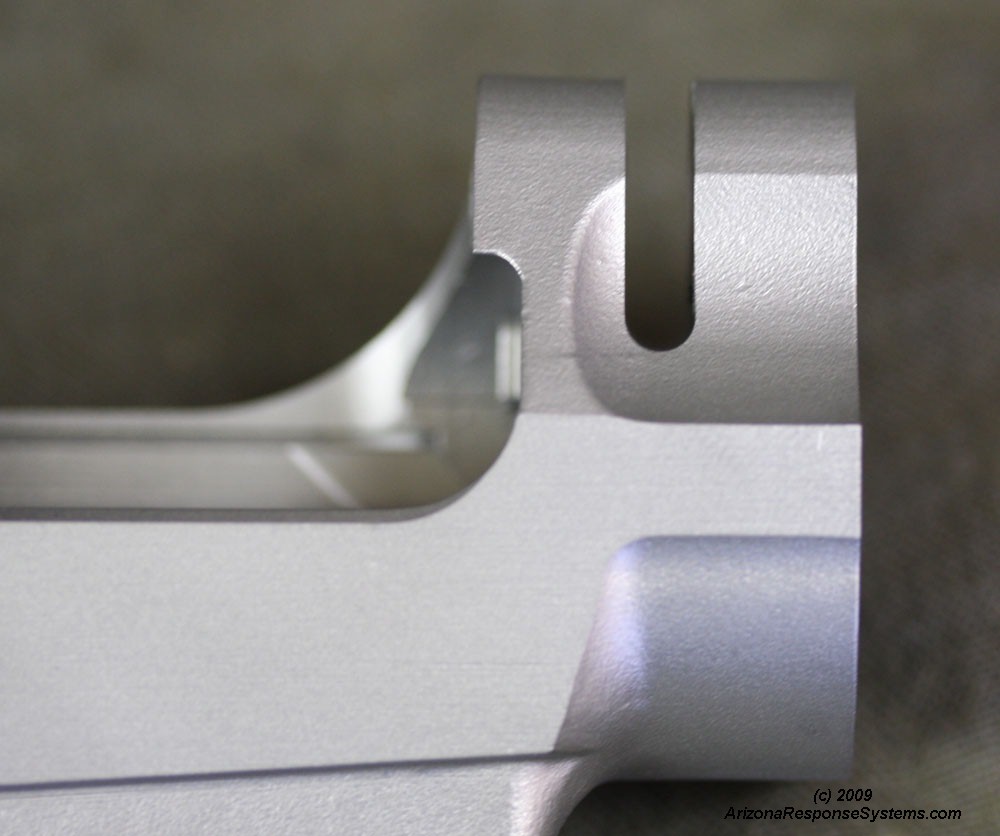
Another difficult section done well – the locking lug is the correct angle.
Underside view of locking lug.
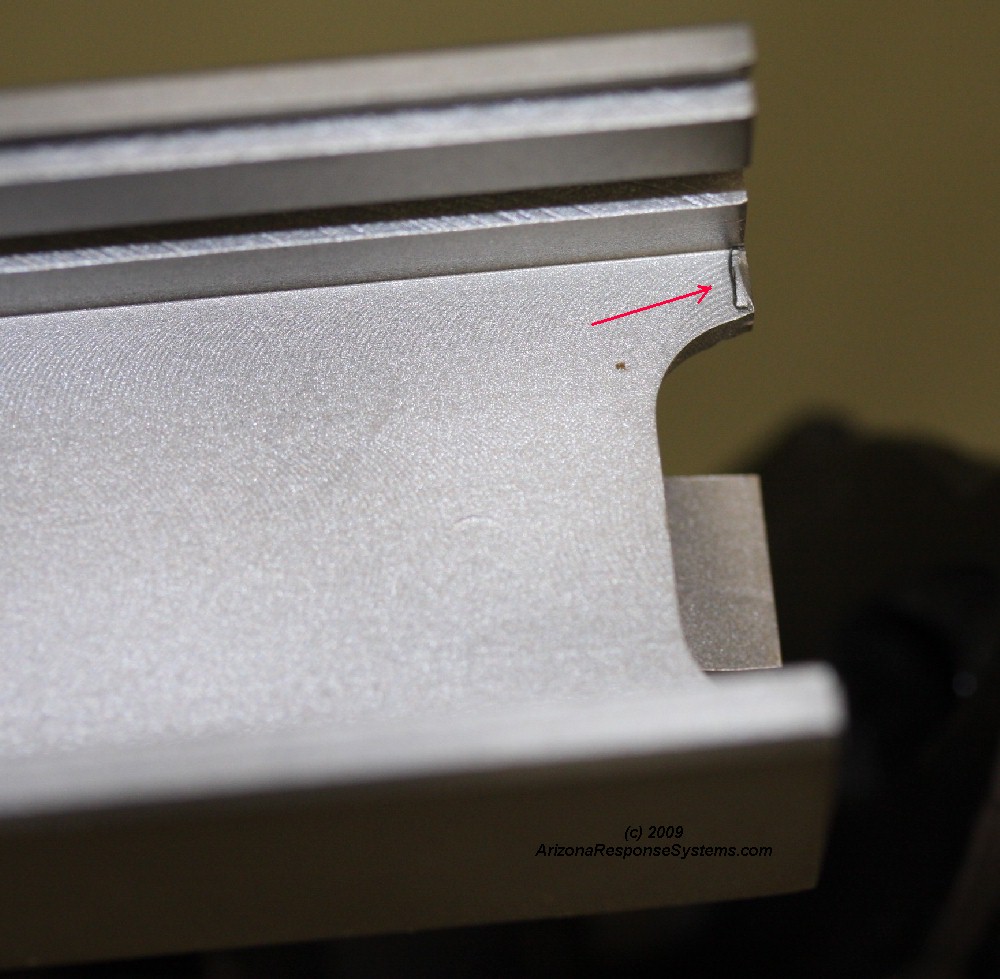
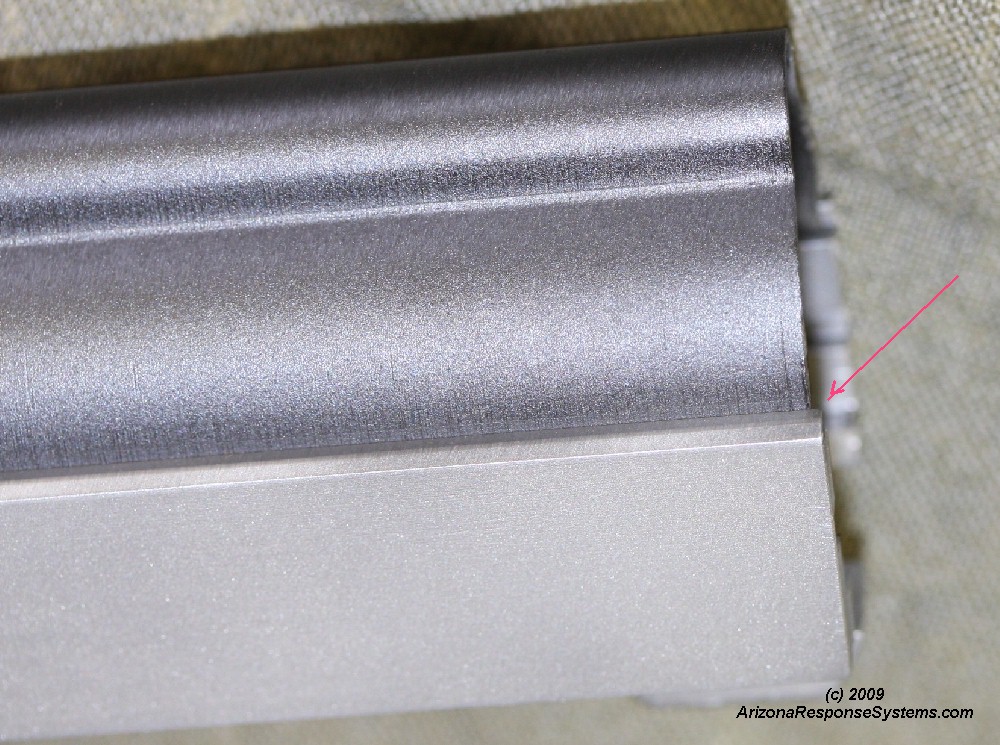
Finally – I found a flaw! This little burr flicked off with a razor blade.
Test Fitting
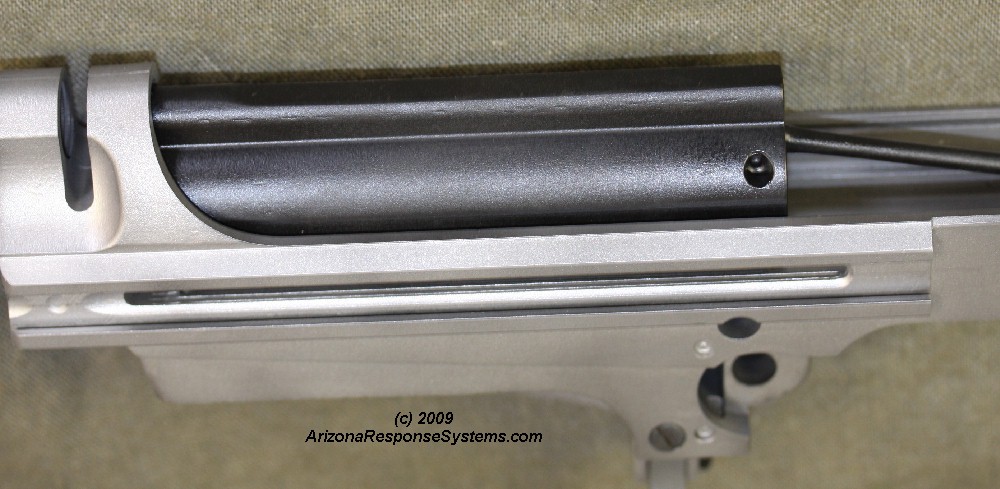
Cocking handle fit and functioned correctly.
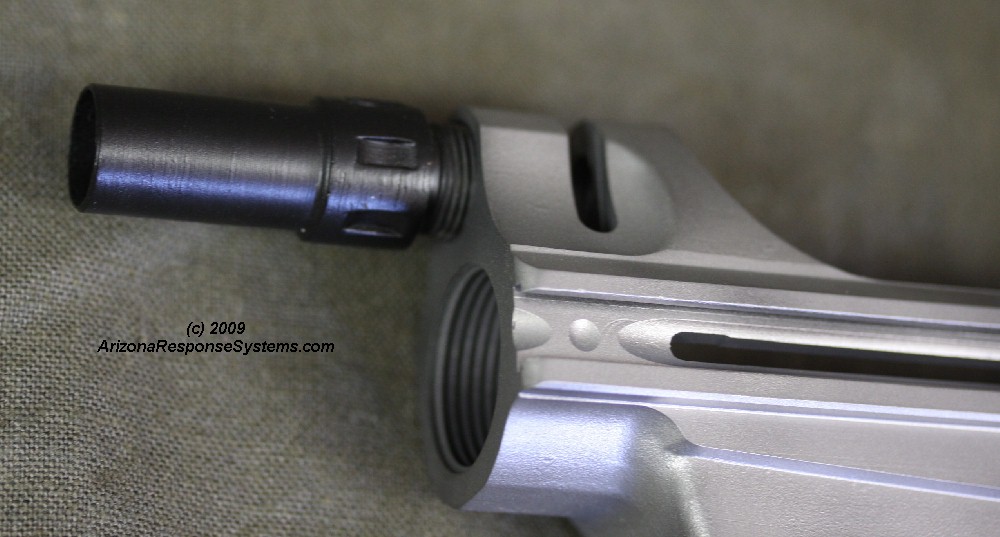
Front dust-cover contour is correct.
Dust cover slides in just a bit too far, as shown here. Dustcover is a new FN. This is probably to the inside contour at the front. This is so subtle as to be of no consequence. I suspect most would never even notice.
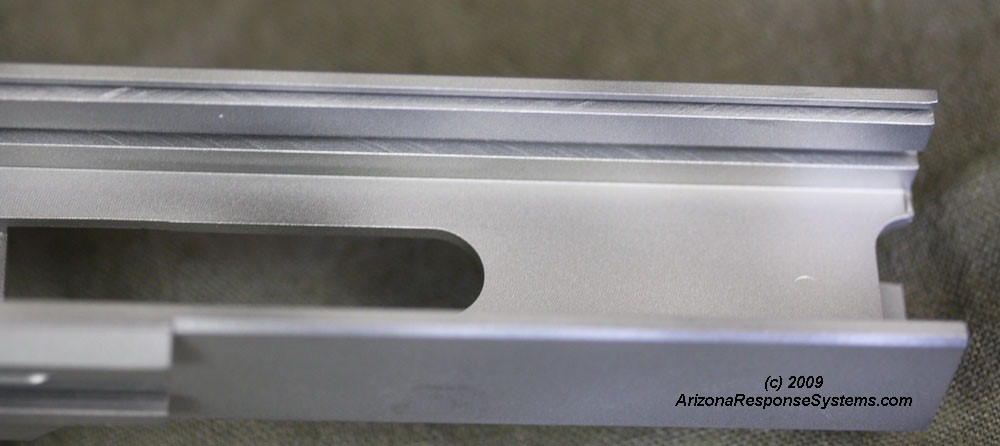
Bolt carrier slid on the rails with no roughness.
Rear carry handle support screwed in correctly. The receiver threads were neither too tight, not too loose.
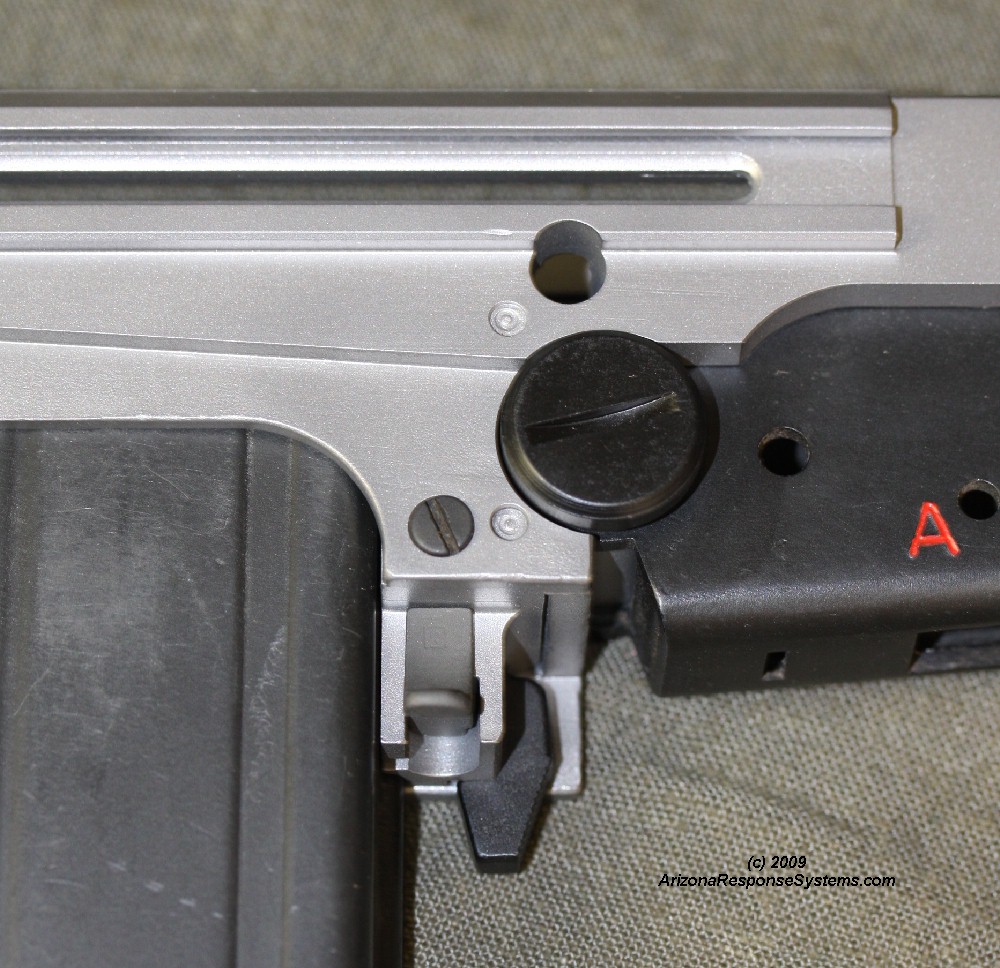
Magazine catch and bolt hold-open fit correctly.
Lockup was a little tight on one of my IMBEL lowers, and perfect on another IMBEL, so I tried this cutaway StG-58 lower and it was perfect here as well – just the right amount of angle on the locking body lever to keep the gun tight through years of service.
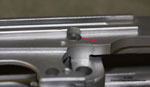
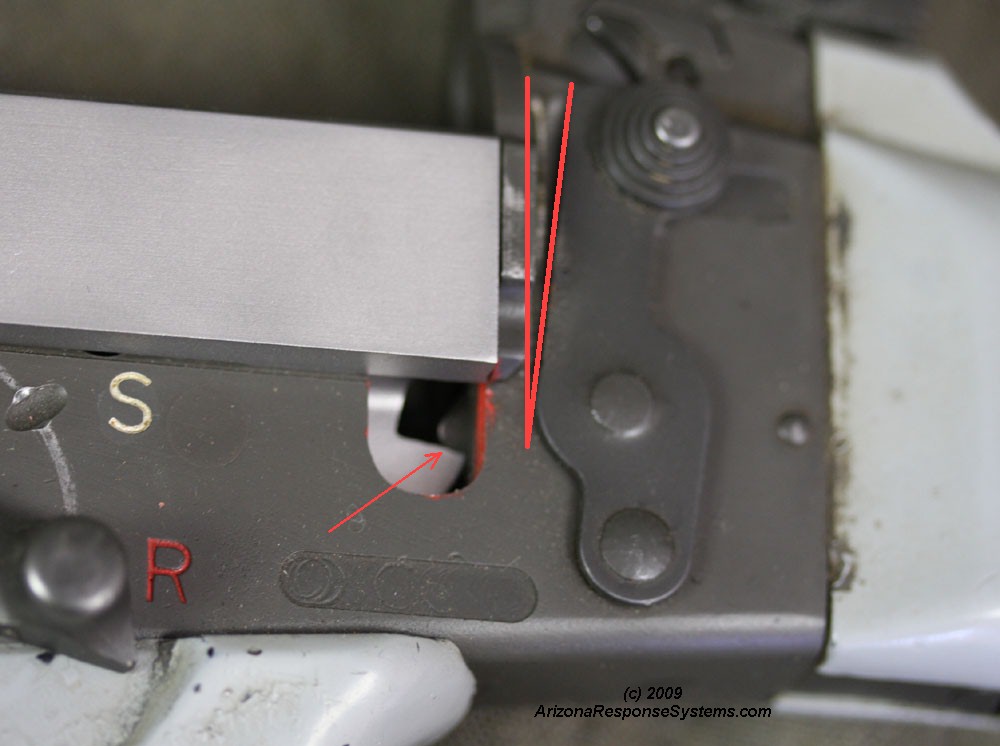
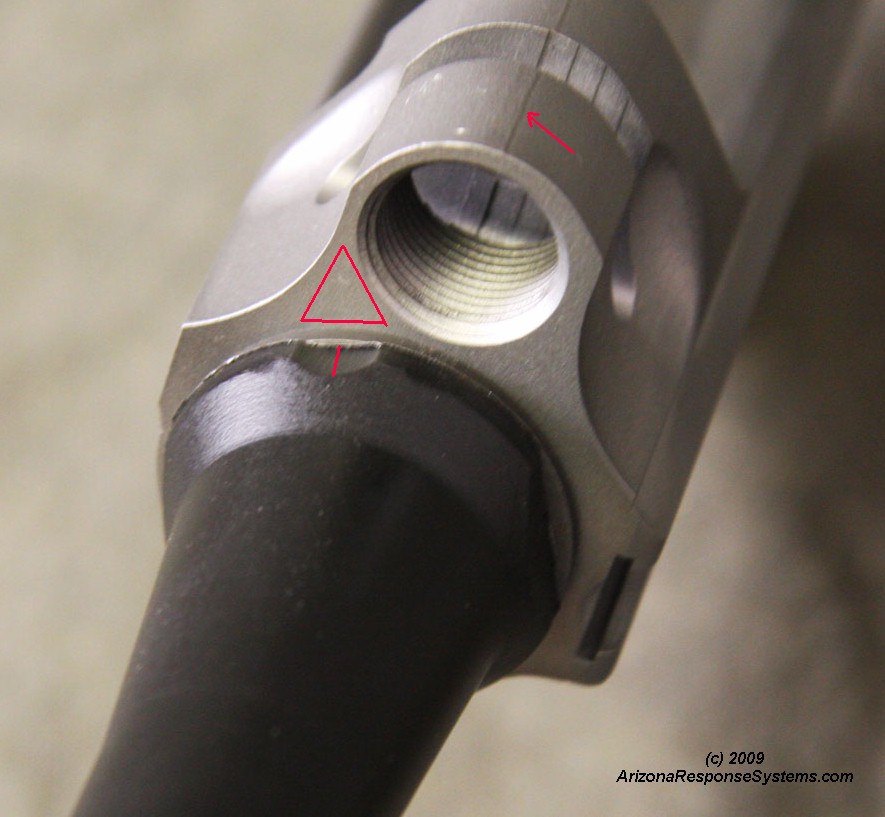
I knew the barrel I had selected for this build would overtime, so I used a different barrel to show the timing. It is just a few degrees short of the magic triangle, which is the perfect spot for hand-timing.
Final Assembly & Testing
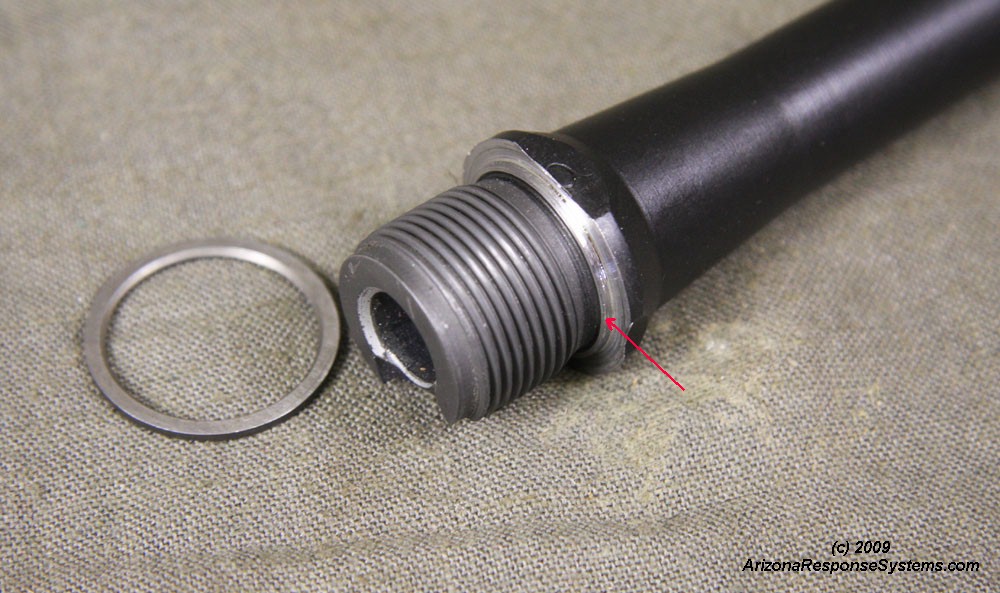
As the metric barrel I had selected for this build had too small a shoulder, I changed it to an inch-pattern style, using a breeching washer. When making this conversion, I prefer to leave a step just under the breeching washer 1″ inner diameter. This keeps the breeching washer centered.
With the modification to inch pattern and #6 (.060″) breeching washer, the barrel hand-timed correctly.
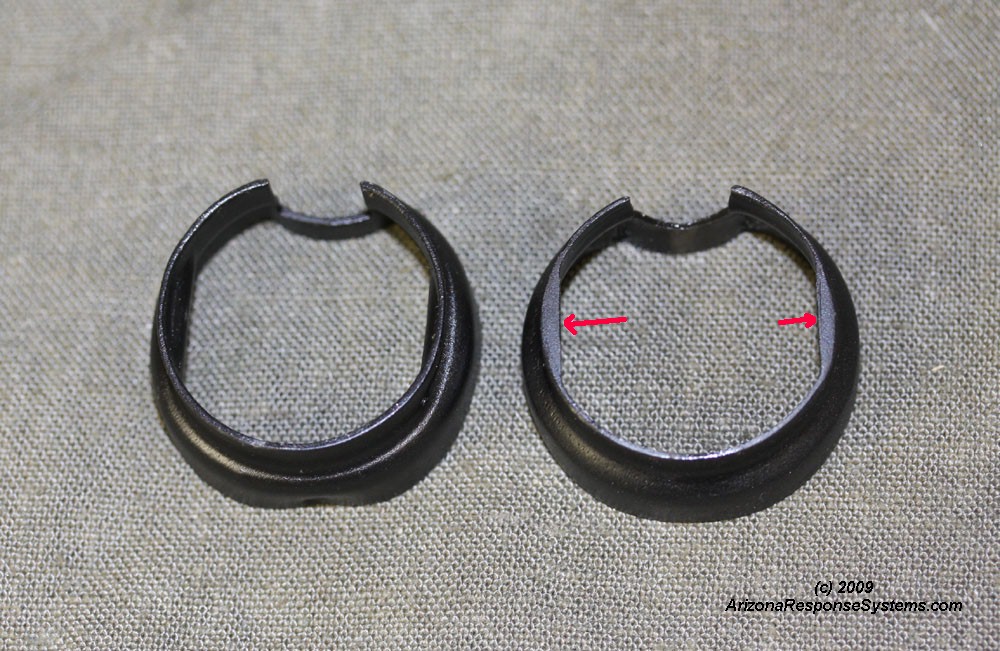
When converting a barrel to use a breeching washer, the metric rear handguard support must be modified by removing the two flats, or an inch pattern rear handguard support substituted.
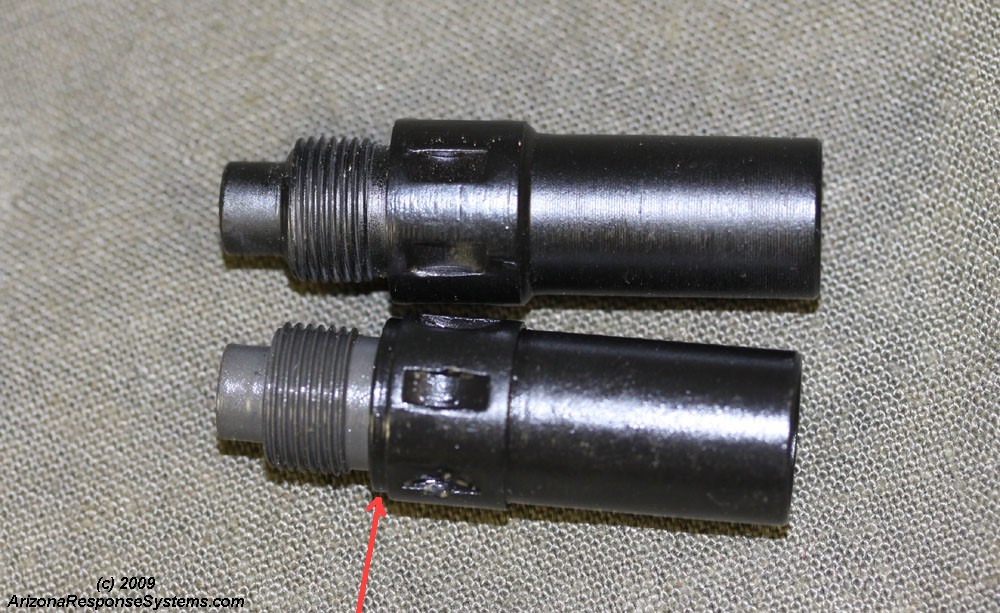
The rear gas tube support must also be modified, or an inch pattern substituted. This small groove is needed to clear the breeching washer.
I like to headspace .001″ over a tight close on a GO gauge so as to allow for a wide variation in ammunition brands. My pin gauges said that a .270″ would be a tight close, and the largest locking shoulder I had available was a .2675″. This is a little looser than I like, although it still will not close with heavy pressure on a NOGO gauge.
Locking shoulder larger than .263″ are far less common than those smaller, and are unlikely to be found in a parts kit. If DCI could make this receiver take a .258″-.262″ locking shoulder, with any variance in the direction of a smaller locking shoulder, it would save customers from having to buy a less common locking shoulder. I tried two other barrels to verify this was the receiver and not an unusually deep chamber.
I also noticed that the locking shoulder appeared to go in just a little shallow. A shallow locking shoulder dog-leg recess was common on the FAC receiver as well. It is not necessarily a problem, but perhaps something for DCI to check against their prints.
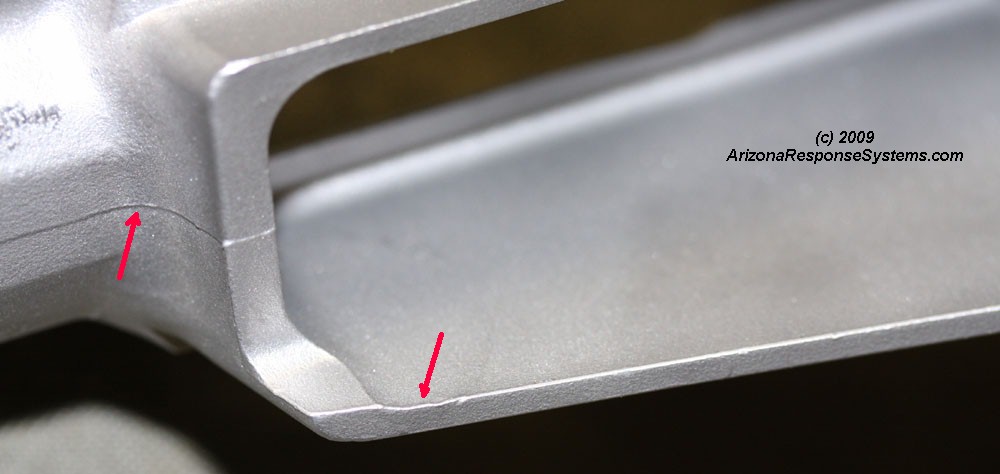
After verifying the rifle went together correctly, I took time out for some minor cosmetic changes I wanted to make. These are not in any way complaints about the receiver, but just little things that I can easily do with a 100 grit sanding disc and medium Scotchbrite disc. I removed this mold line on the bottom and small casting mark on the inside of the magazine well. I also removed the casting mark from the top of the receiver ring shown earlier.
The finish work on the outside of the magazine well was the only rough spot on the receiver. It looks like it was done with a 36 or 60 grit disc. I went over it with a 100 grit and then the medium Scotchbrite to remove the shadow from the mold plug, and the coarse sanding marks.
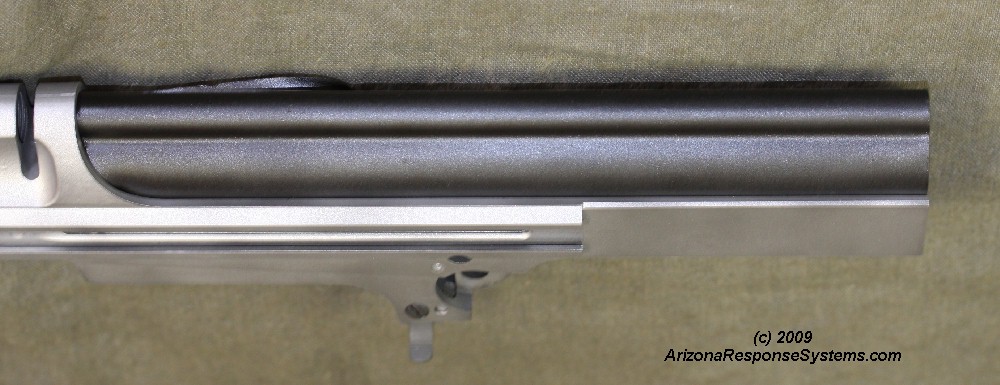
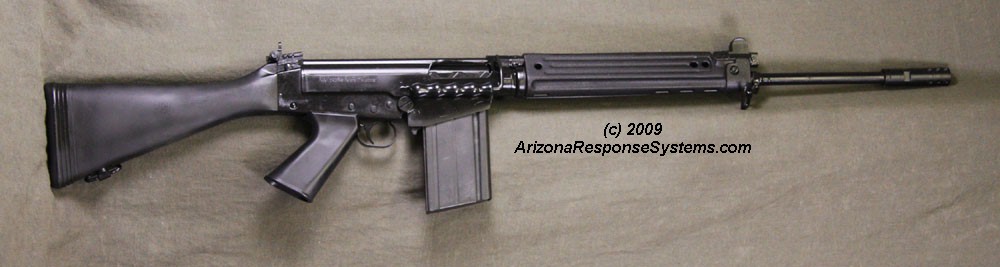
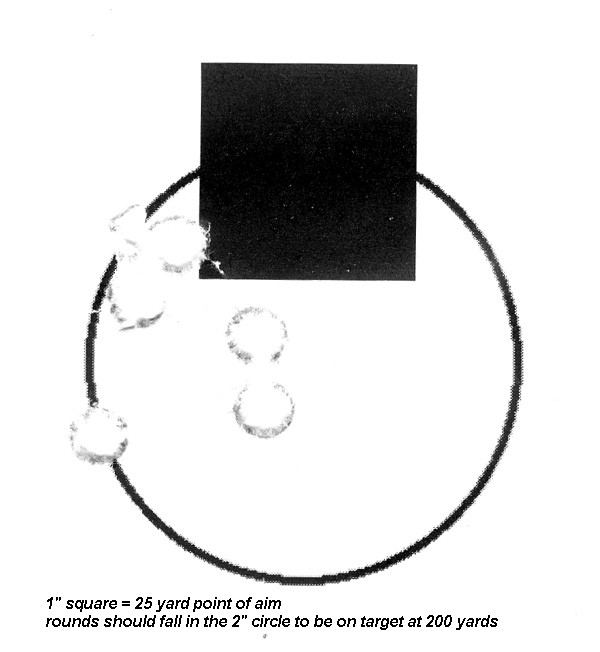
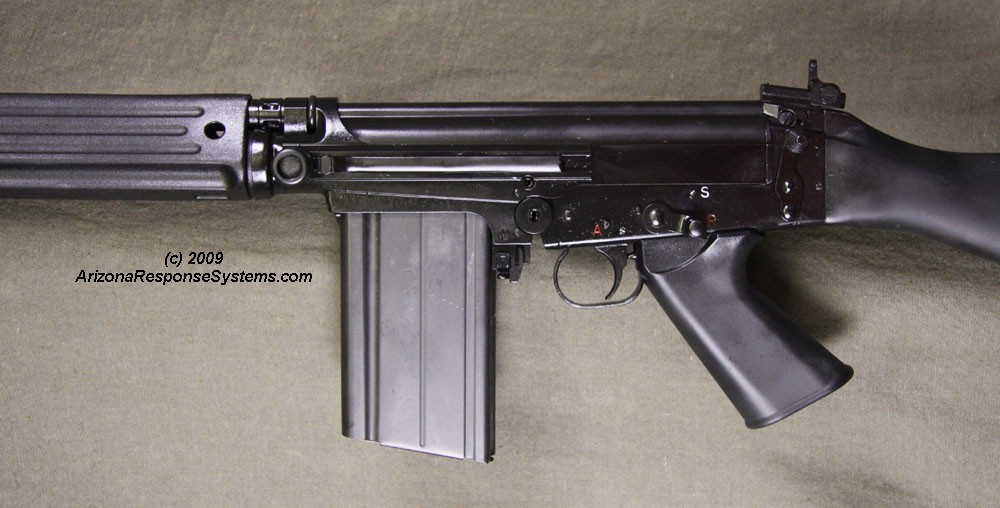
Finished rifle. It grouped well with a #2 front sight. Within the British Standard of 1.5″ for new barrel, and 2″ for rifle in service at 25 yards.
Summary
This receiver is even nicer than the FAC receivers. Reviewing it was a pleasure. My inconsequential recommendations are
- shoot for a smaller locking shoulder
- make the locking shoulder dogleg recess about .010″ deeper.
- finish the outside of the magazine well with a finer (100#) sanding disc
I look forward to building on these.


Leave a Reply
You must be logged in to post a comment.