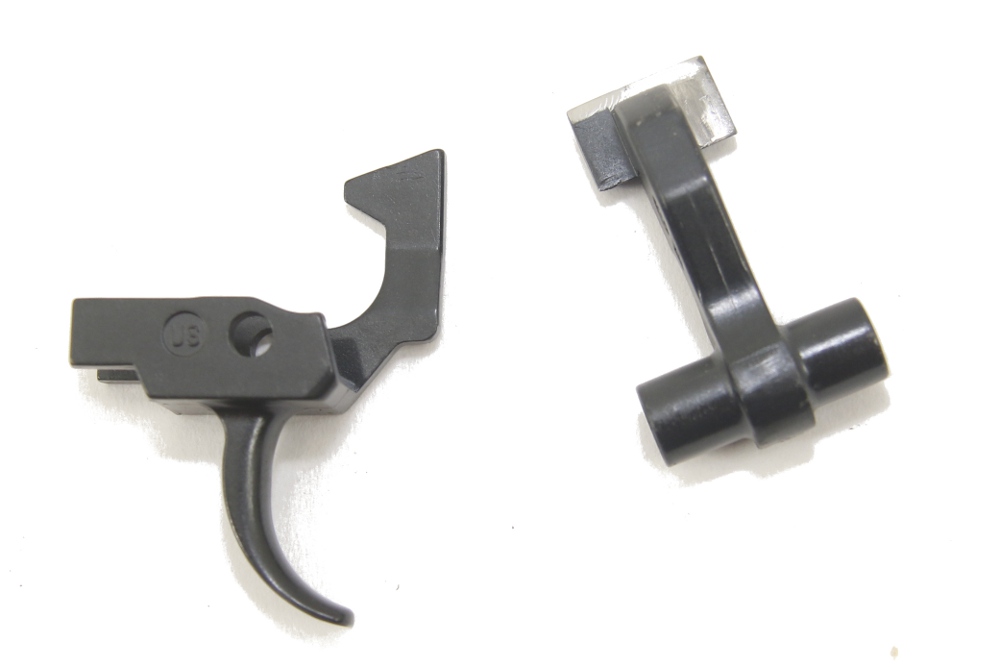
AK Tutorial: Adjusting the Arsenal AK Trigger
K-Var sells a single-stage or a two-stage US made trigger. While technically correct, it is not single-stage and two-stage in the traditional sense.
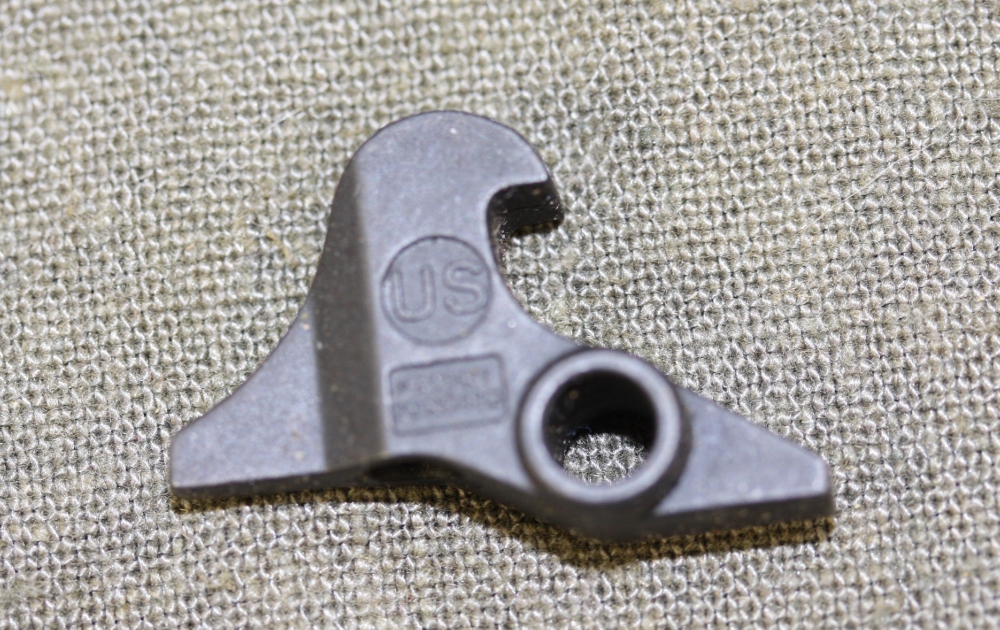
An AK-47 (not AKM) two-claw trigger is a two-stage design. As you pull the trigger, it travels a short distance under the tension of the hammer/trigger combination spring. This is the first stage. Then the front of the disconnector claw contacts the back of the hammer, stopping the travel. This ends the first stage and the trigger can be held at this position. Additional pull force is required to continue travel as the tension of the disconnector spring is now added to the hammer/trigger combination spring. This is the second stage. The reason that two stage triggers are desirable on military rifles is the long trigger pull makes the gun “safe” under adverse and stressful conditions, but the perception of the second stage is a light pull.
Suppose the first stage is 6 pounds and the total force to override the disconnector is 7.5#. Technically, it is a 7.5# trigger pull, but the perception is only the difference between the first and second stage, or 1.5#. Thus you have the safety of a heavy trigger pull that even poorly trained troops in hostile environments can avoid negligent discharges, but when time allows for precision shooting, the effective pull is very light.
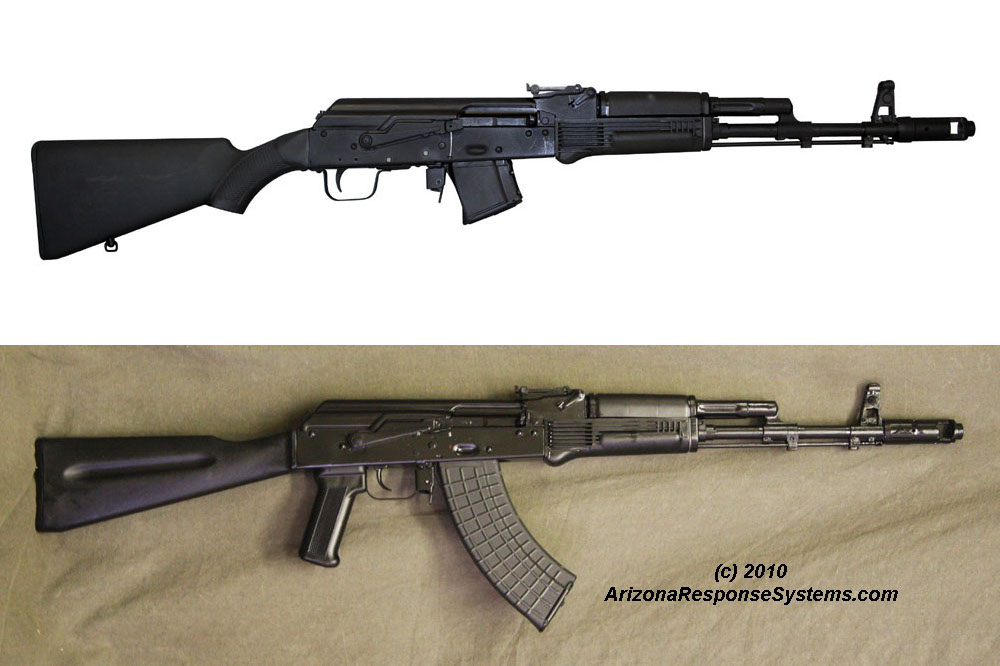
The Arsenal (and TAPCO) are of the AKM design. They never touch the disconnector during trigger pull. The rest position is above the disconnector. Thus neither one can ever be a two-stage in the traditional sense.
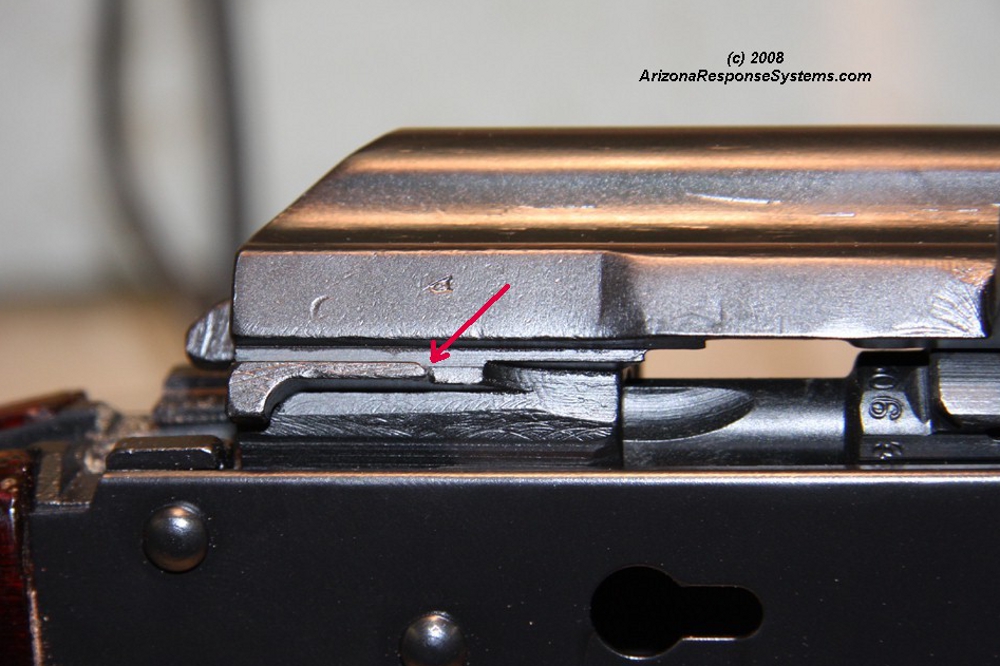
The Romanian PSL uses a different approach to obtain the effect of a two-stage without introducing the disconnector spring to the equation. They cut a small semi-circular groove right before the release point of the hammer (I’ll get a photo eventually). So the first portion of the trigger pull is a long single-stage, but then the claw of the trigger drops into the groove. The trigger claw must now travel up-hill to come out of this groove and release the hammer. This slight increase in required trigger force functions as a second stage and is similar to the double hump found on military Mauser triggers, and the Springfield 03, just upside down.
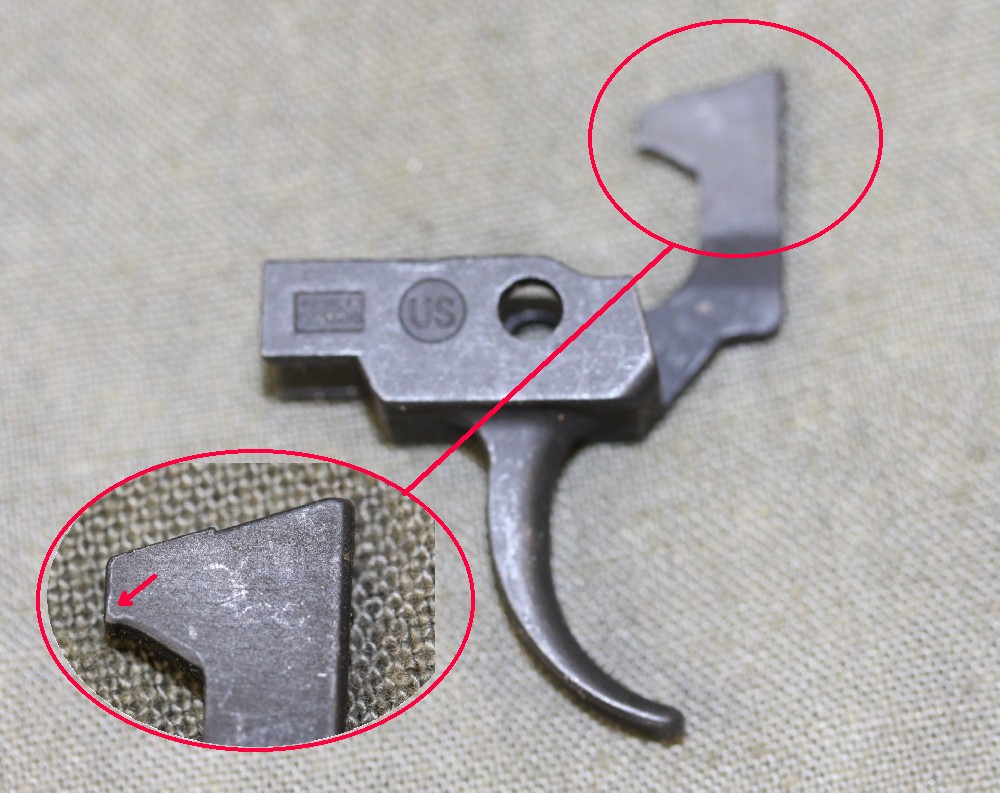
K-Var appears to have been trying to get the same effect by putting a small bump on the trigger claw and the end of the hammer engagement. This is what they call their two stage, but it didn’t work out so well. The humps are so small and sharp, that when they meet they effectively stop the trigger – a ridiculous amount of force is required to over-ride the contact. The single-stage trigger is the same as the two stage, but with the bumps removed.
I believe you can obtain an excellent single stage trigger with a few modifications to the two-stage ARSENAL. It is long, but smooth, and has a surprise release. I do the same to a two-stage because I can put a smoother finish on the parts than comes from the casting. Furthermore, stacking of tolerances can allow the hammer to miss the disconnector claw in some trigger-group and receiver combinations, resulting in hammer follow and doubling. The tolerances are
- receiver rail height
- bolt carrier base
- hammer-trigger hole spacing
- hammer-trigger hole height
- hammer & trigger hole distance from receiver rail
- hammer shelf dimension
- disconnector claw dimension
- disconnector travel dimension
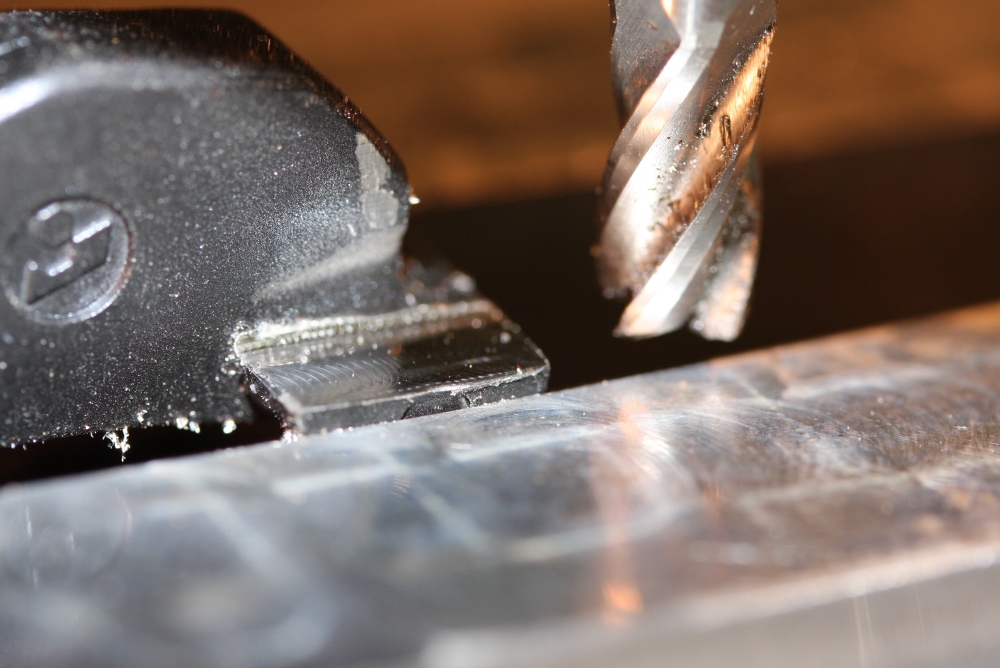
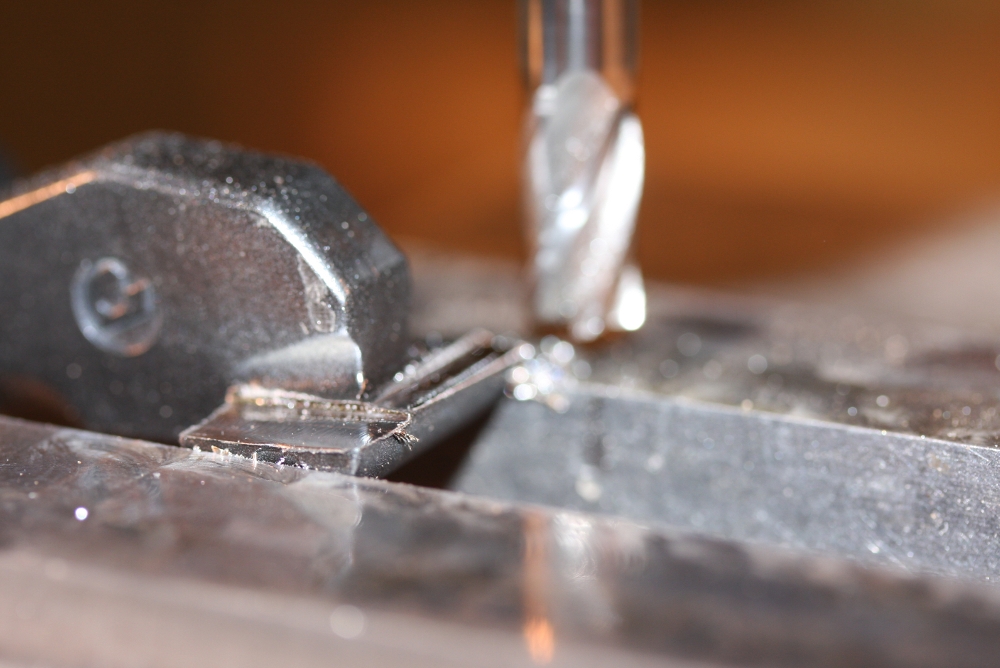
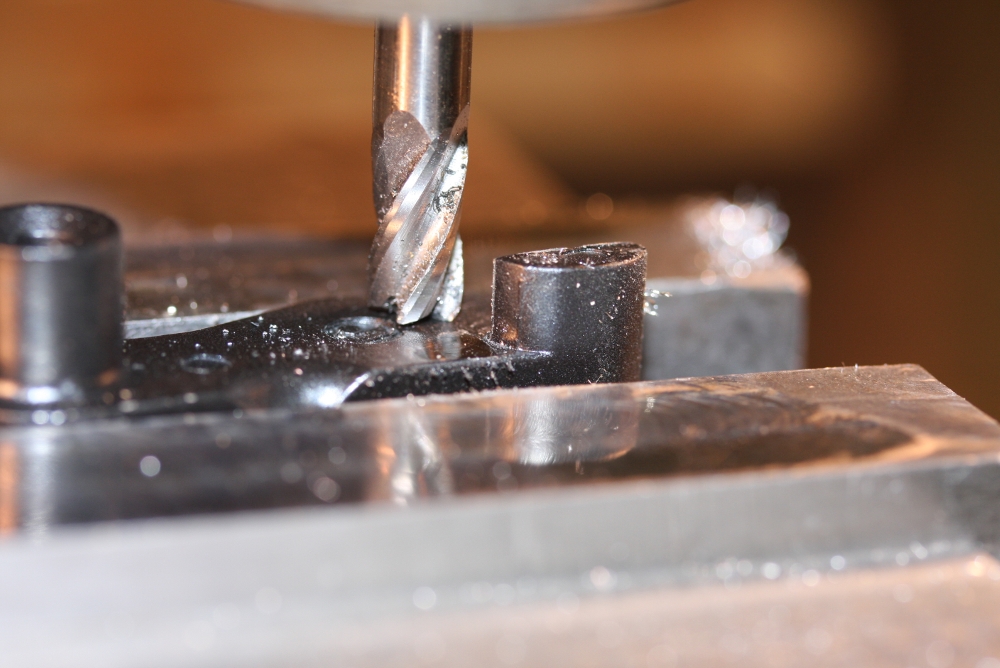
This tutorial demonstrates how I adjust all ARSENAL trigger groups before installation.
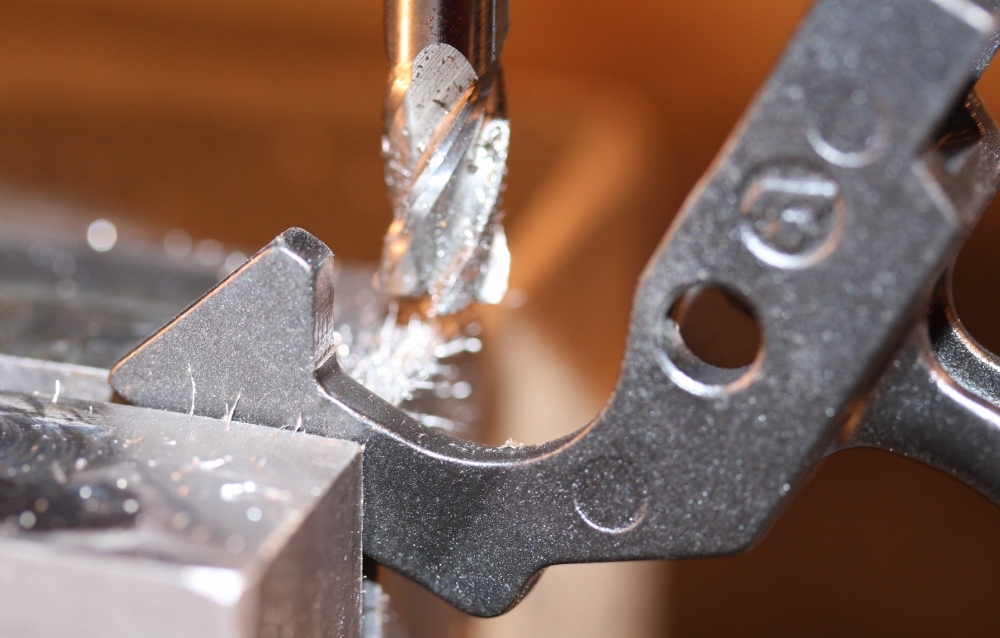
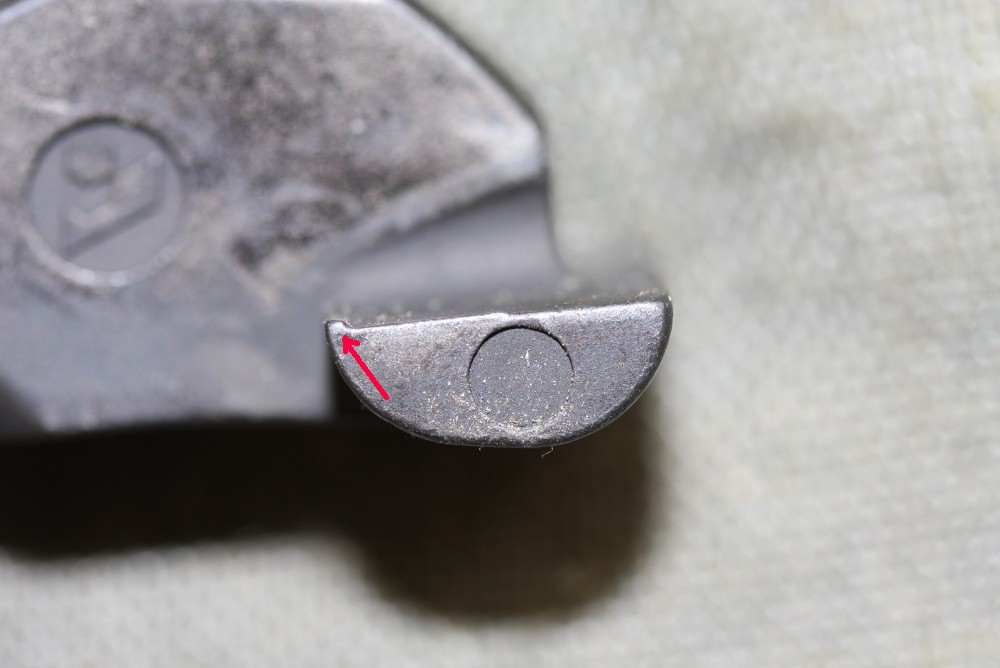
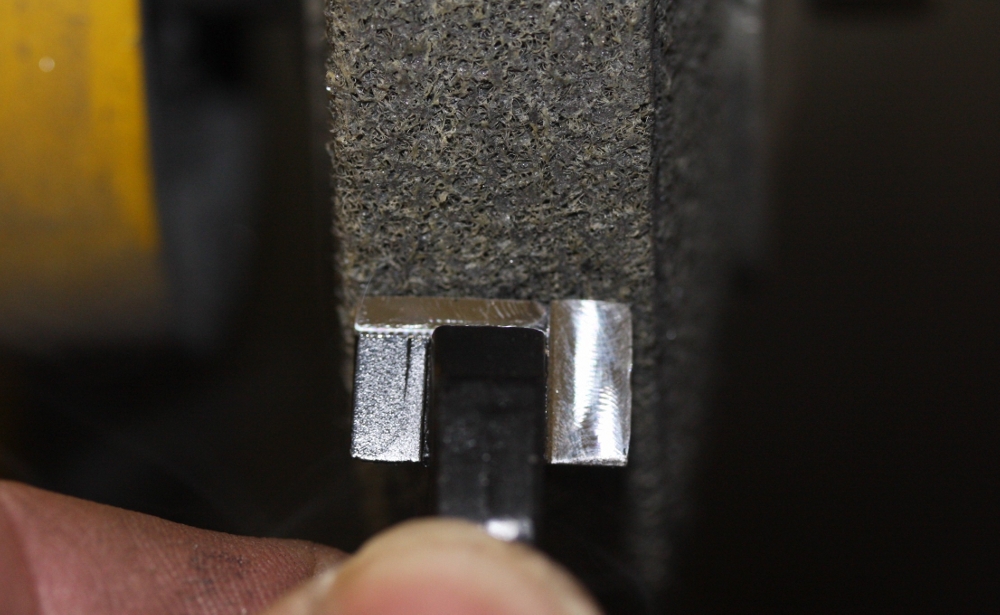


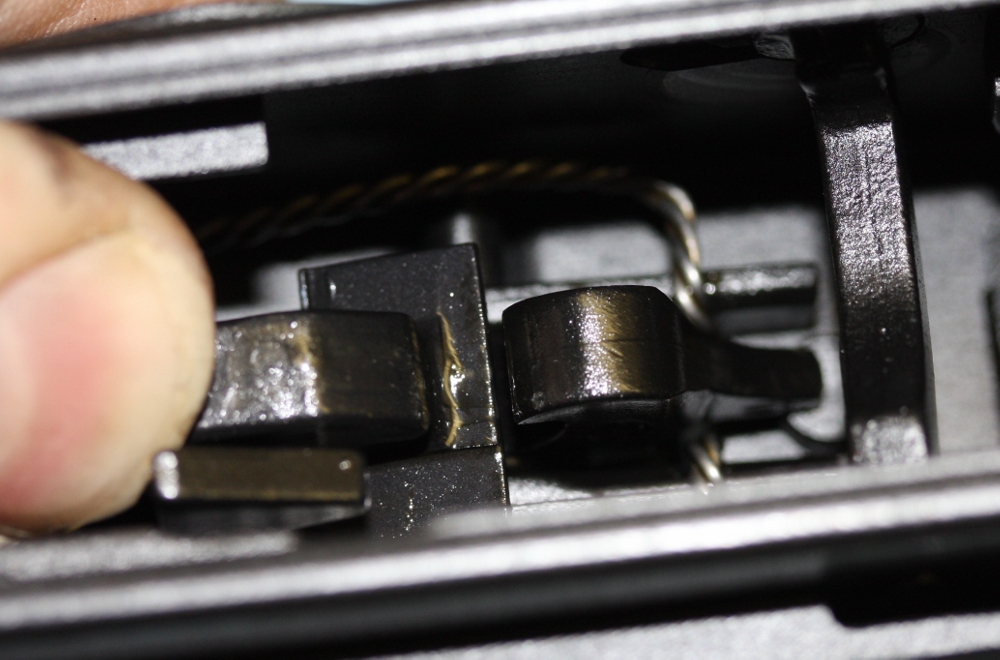
pull the trigger and hold it back while resetting the hammer. Release trigger. The disconnector should snap smartly off the hammer shelf. If it drags in any way, the disconnector shelf on the hammer must be polished and/or the angle increased. In some cases, there is a burr on the beak portion of the disconnector that must be smoothed.
Leave a Reply
You must be logged in to post a comment.