AK Tutorial: Saiga Sporter AK Conversion
(updated 04-09-2020)
Introduction
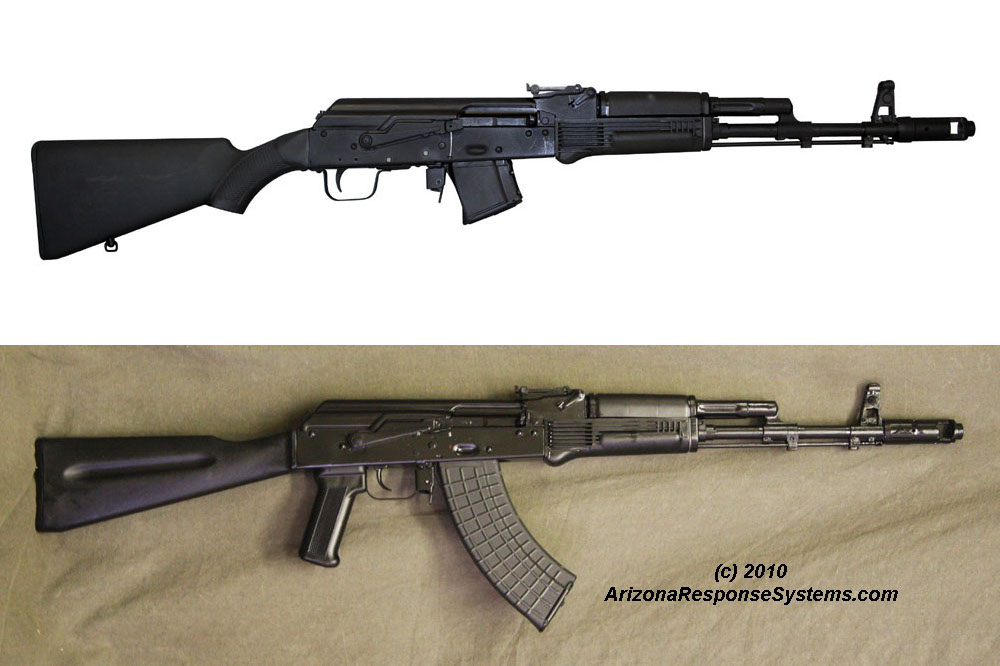
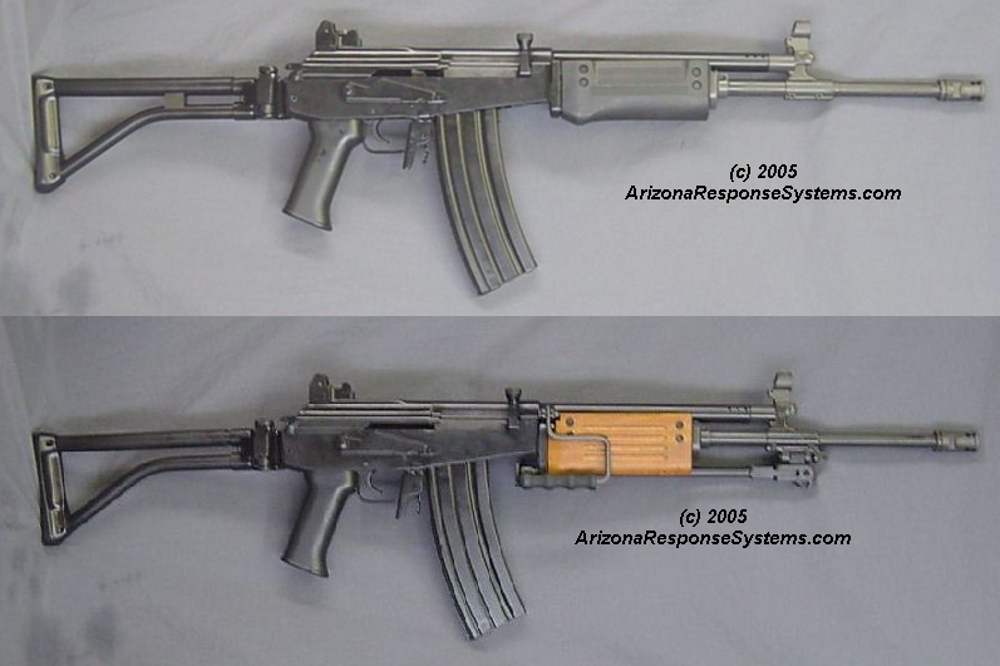
The recent introduction of the SAIGA SGL-10 has made for an excellent opportunity for an “almost factory” rifle at a great price. Former versions were more difficult to convert. This one was designed specifically to get around the US import ban on “assault weapons,” yet be a cost-effective conversion once it was here. The gun came in with a single stack 10 round magazine. Arsenal USA machined the magwells to accept a standard AK magazine (which on my sample, still didn’t fit, but more on that later).
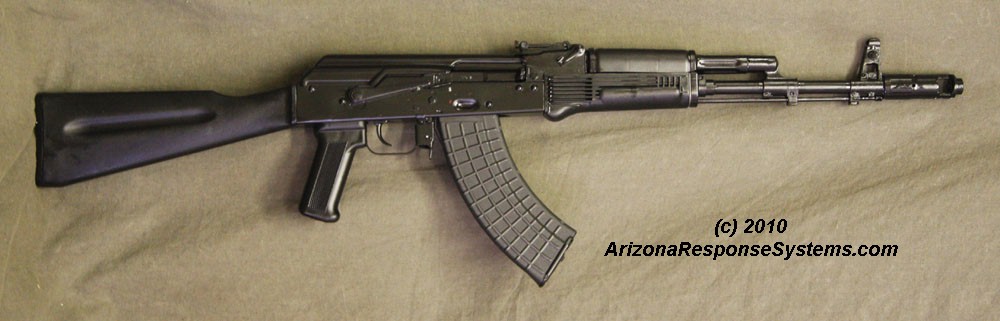
This tutorial is a step-by-step procedure for converting the “sporter” into a military style AK.
Materials
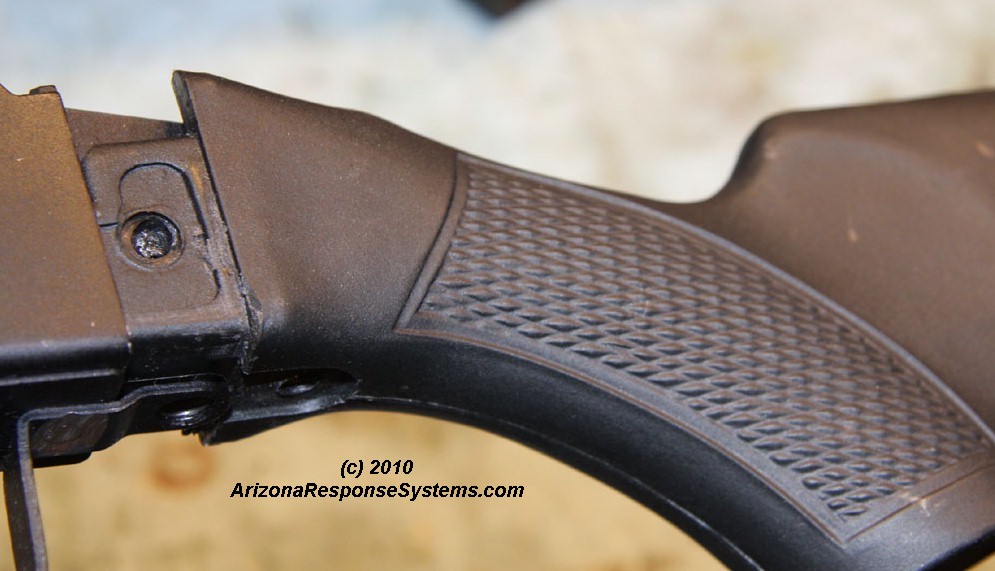
- US pistol grip
- pistol grip bolt and stud
- shepherds hook
- US shoulder stock
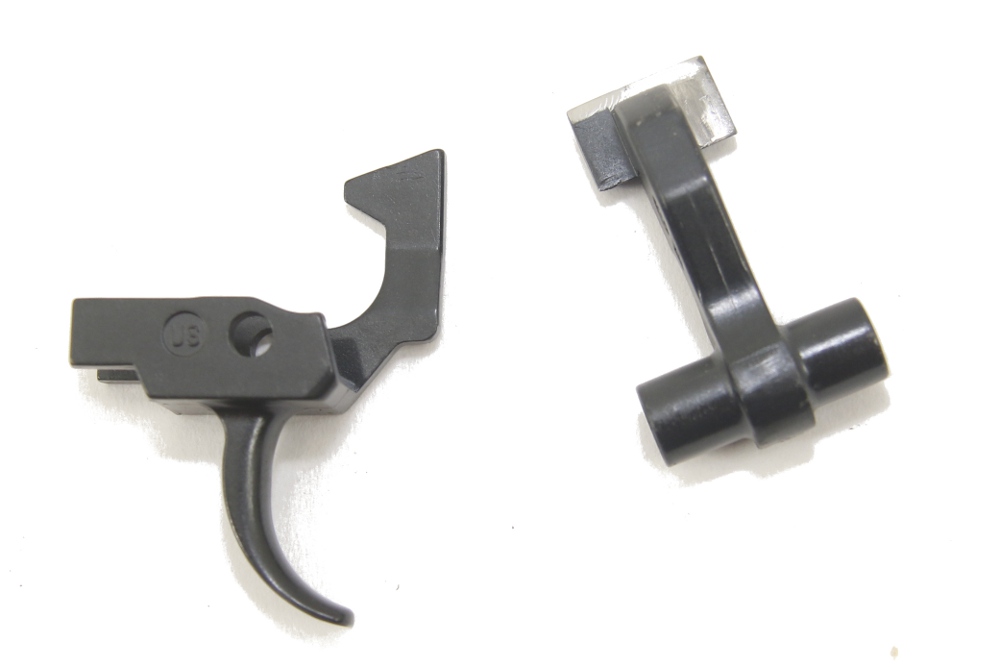
- US trigger
- US muzzle brake (included?)
- US handguards (included?)
- US disconnector (included?)
- US hammer (included?)
Demil
Remove 3 stock screws, remove stock and discard
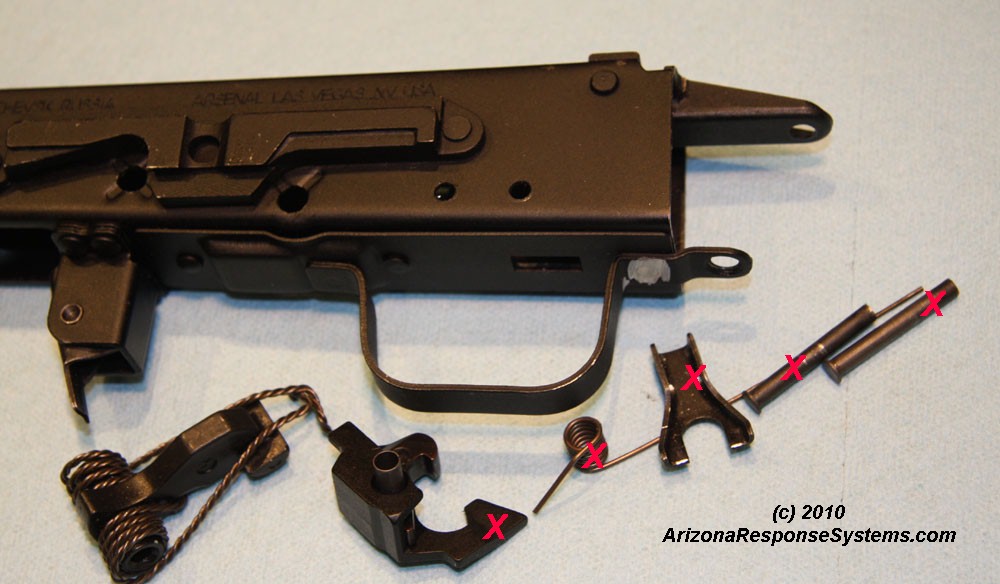
using a #11 drill bit, drill out the two rivet/pins on the right side, and remove them from the left side. Remove remaining trigger parts and retain
- hammer
- hammer spring
- diconnector
- disconnector spring
- trigger/disconnector sleeve
- hammer pin
- trigger pin
discard the rest.
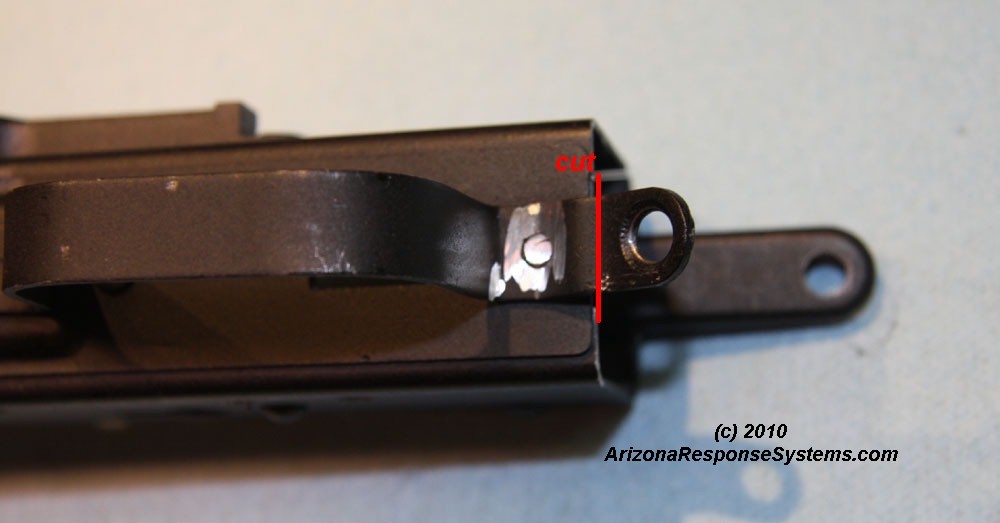
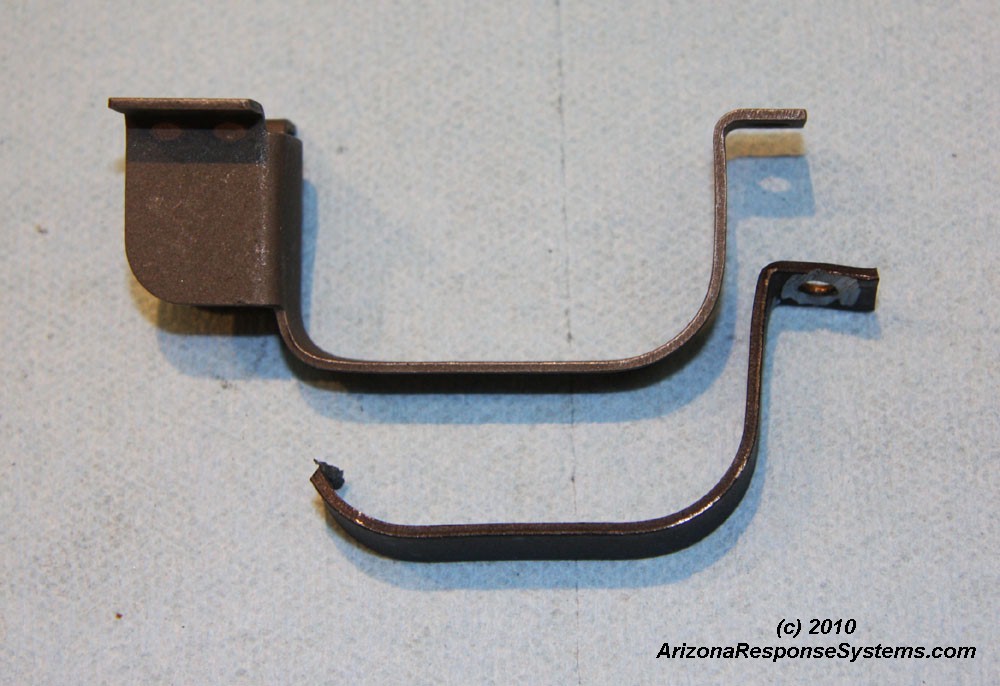
drill out rear trigger guard rivet, cut off lower tang. Cut off trigger guard at front, close to receiver.
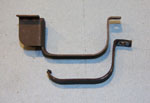
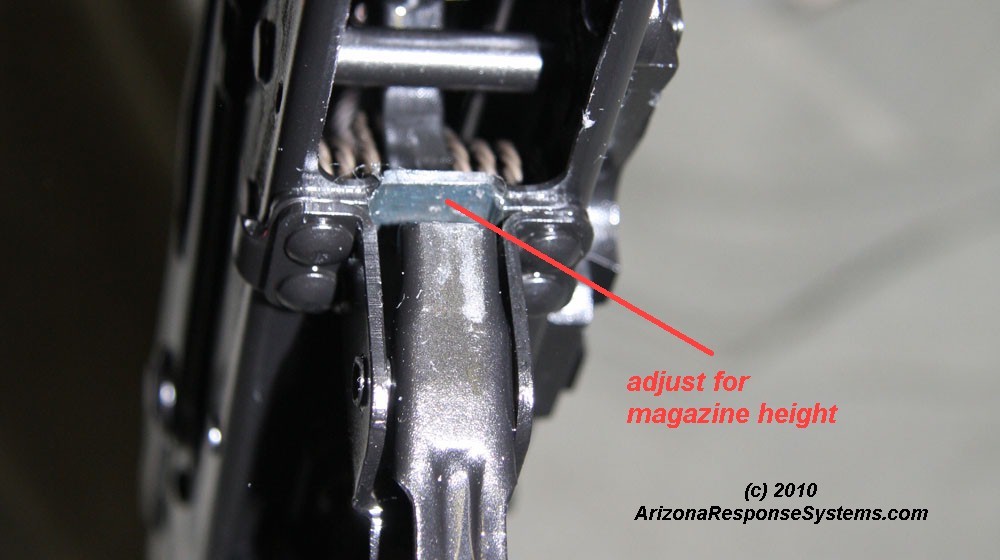
At this point, you can either replace the entire trigger guard and magazine catch assembly (remove four magazine catch rivets) or use the existing trigger guard. I figured I’d use the existing one and if it came out well, I saved some money. If not, I could still replace the entire magazine catch and trigger guard assembly. Virgin trigger guards do not have the hole drilled for the magazine catch axle, and this is a critical dimension, so I figured I’d try to avoid it if possible. There is a selector stop plate between the magazine catch part of the trigger guard and the receiver. This selector stop plate is a critical dimension and controls both the front to back and vertical position of the magazine. I found out later that this was not cut to accept a standard AK magazine. It is much easier to adjust without the trigger guard in place. See the magazine catch adjustment section of the AK build tutorial for specific directions.
if retaining the original trigger guard, shorten it to the same length as the standard AK. The SAIGA is 0.5mm wider, and is easier to adjust as a separate piece – 3 seconds on the belt sander and quench before you burn your fingers!
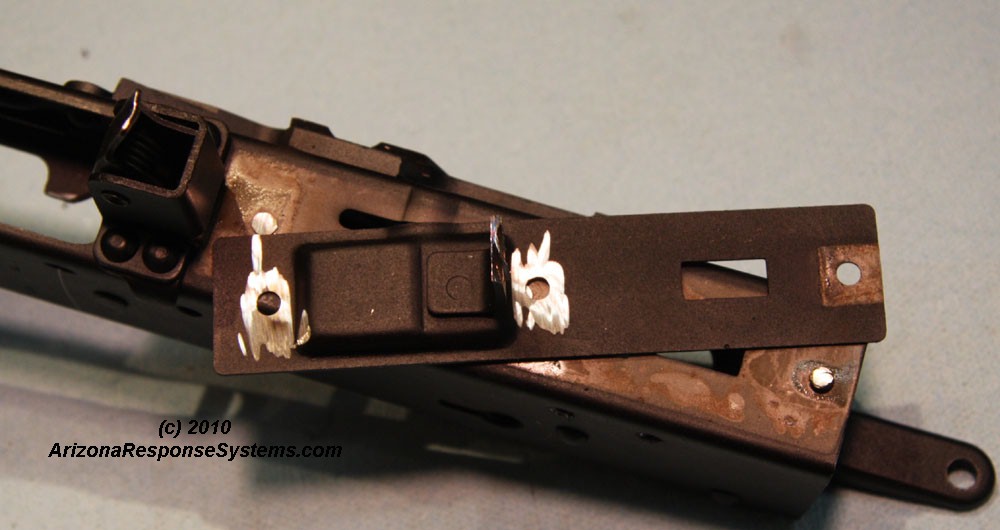
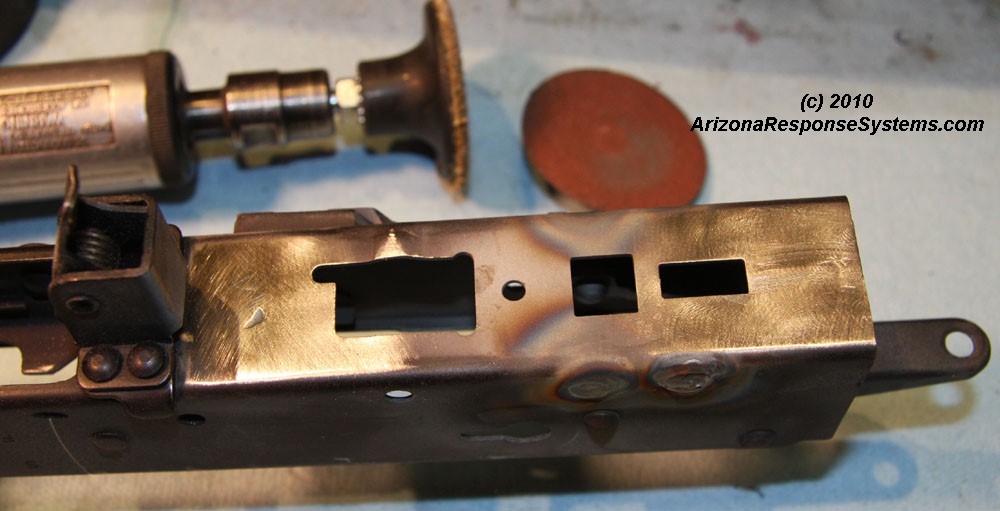
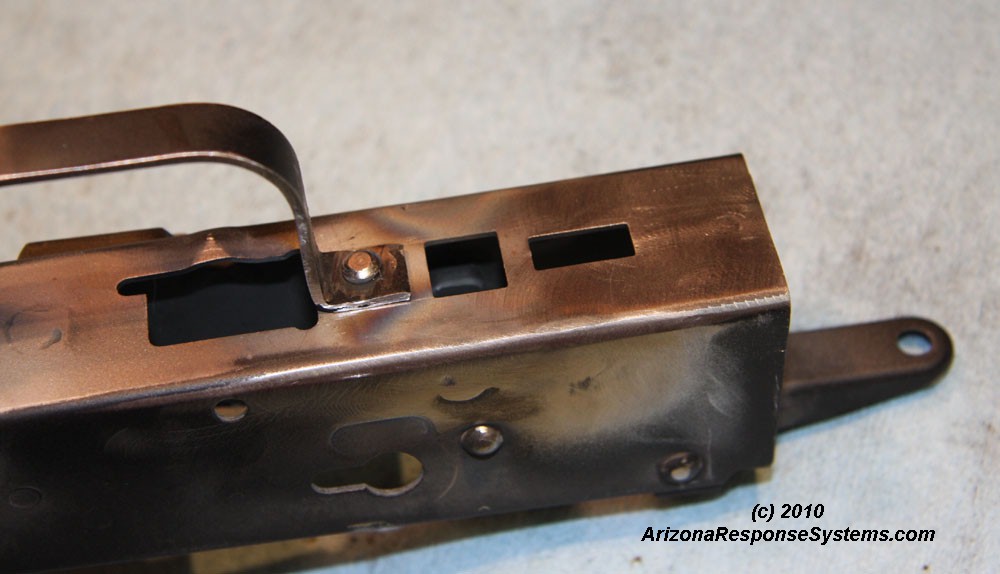
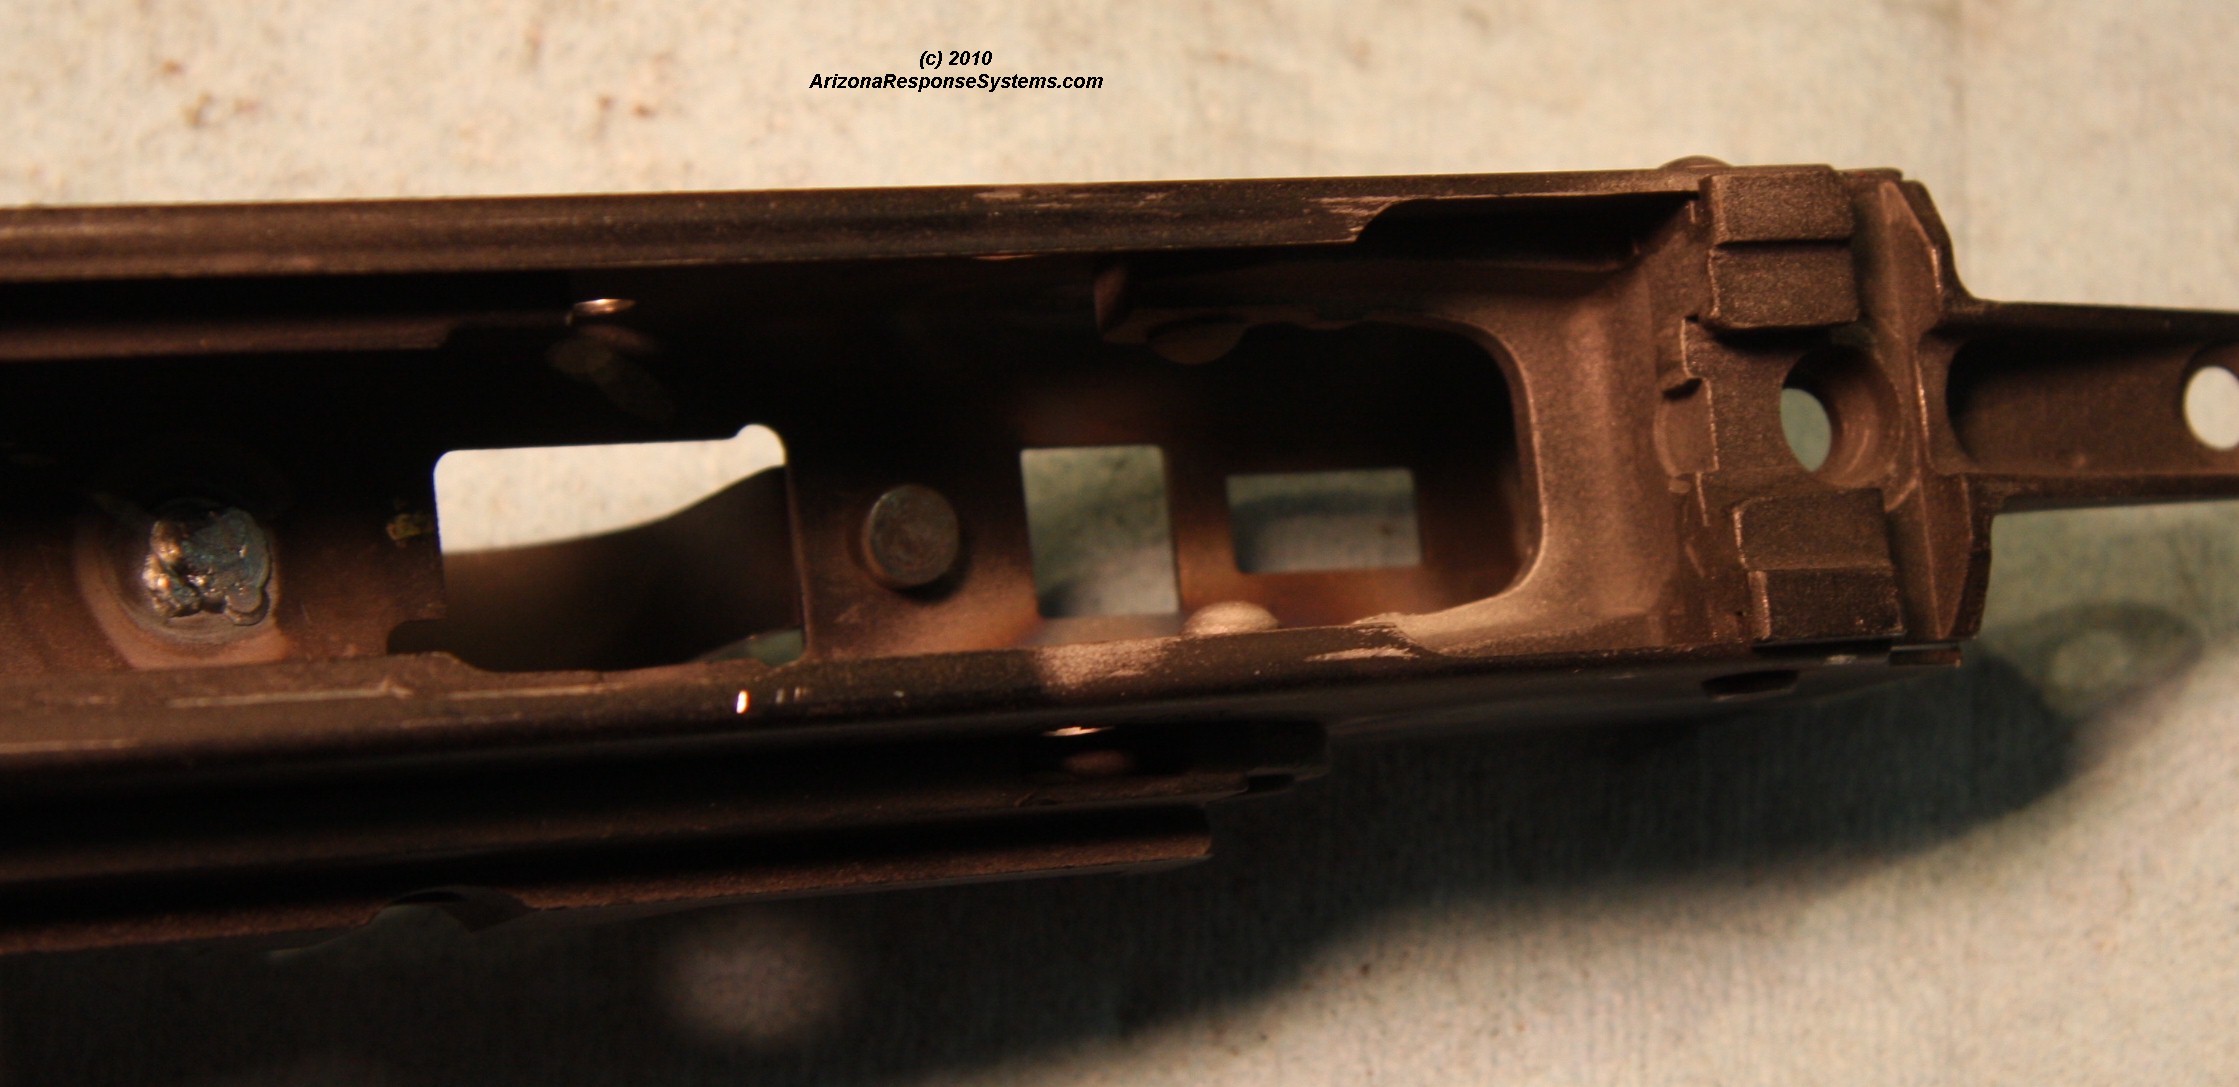
Remove remaining two rivets and remove the cover plate, revealing a receiver cut for standard AK parts.
Pop out the inside half of the rivets. The demil is now complete.
Receiver Modification
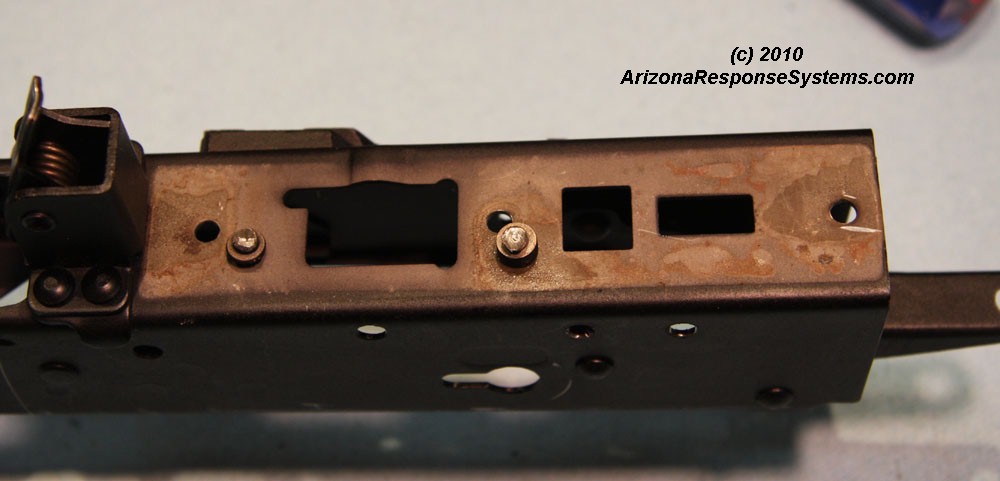
At this point you must decide whether you are going to leave the empty rivet holes on your rifle. I think they are ugly, but their presence has no ill effect. Some plug the holes with tiny plastic caps like might be found on the end of a ball-point pen. This decision will have the greatest effect on the time and cost. If you can tolerate the (UGLY!) holes, it will reduce your time and money dramatically.
I choose to weld them in, which necessitates refinishing at least the receiver (I refinish the whole rifle to get a perfect color match). Here I sandblast the paint off to get a clean welding surface.
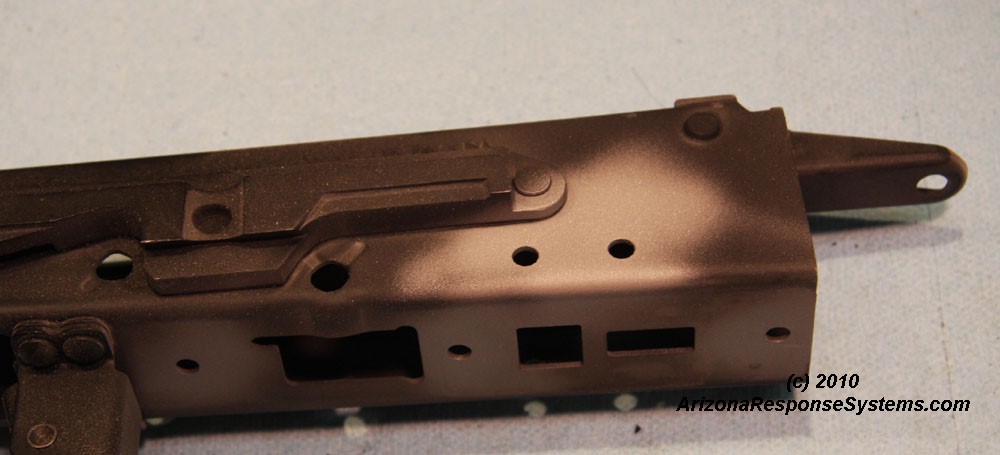
Using a copper backing to prevent burn through, TIG weld the holes. A skilled MIG welder can possibly get good results, but I recommend TIG, and the copper heat-sink backing plate. Some have also soldered them in. Do not weld in the center bottom hole – you need that one there. The rectangular SAIGA Sporter trigger hole I left in place as it is covered by the pistol grip.
Resurface the holes. I use a 100 grit disc sander followed by a 3M Scotch-Brite abrasive pad.
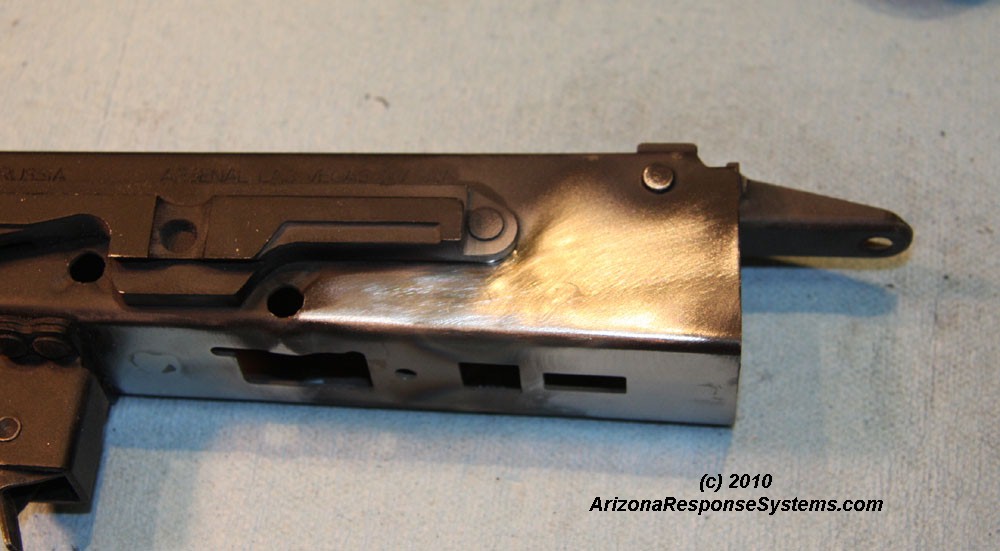
Side view of resurfaced holes.
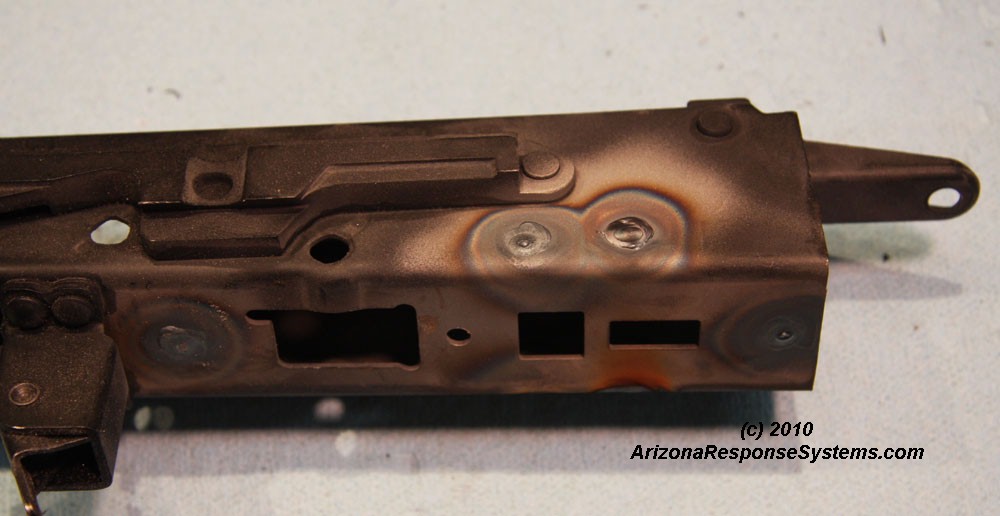
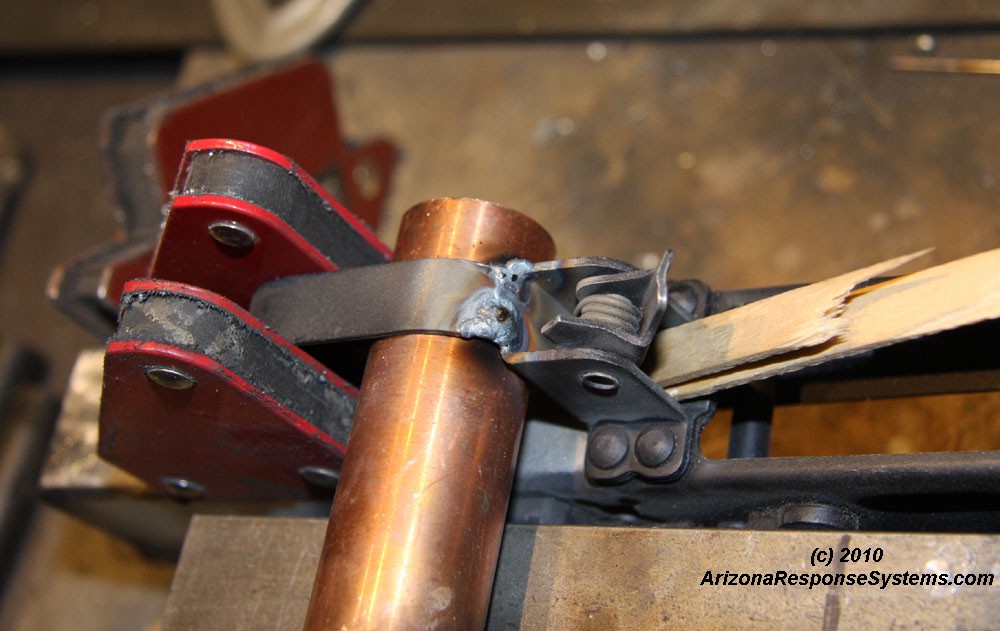
using a Popsicle stick to keep the magazine catch out of the way, magnets to hold the trigger guard in alignment, and a copper backing to help prevent the edges from drooping, I weld the trigger guard portion onto the magazine catch. If I make a mess of it, I can still go back and replace the whole assembly with a new one.
The weld came out well and I cleaned up the weld line with a Dremel sanding drum on the inside, and the edge of a Dremel cut-off disc followed by a rubber abrasive disc for the outside.
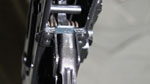
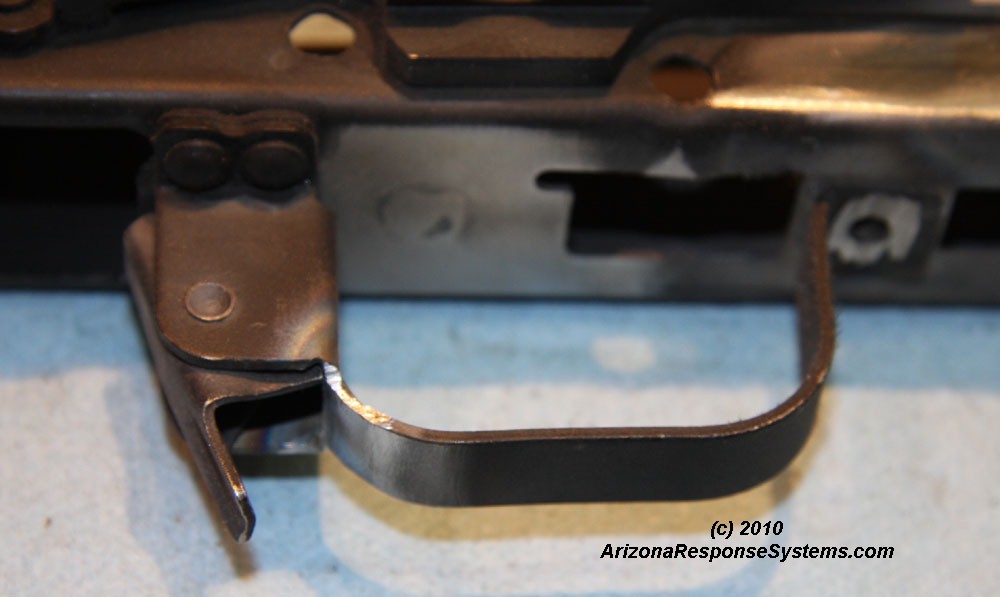
Install rear trigger guard rivet.
Bulgarian and late model Russian guns use a rivet with a tall head on the inside. this acts as a stop for the tail of the disconnector and eliminates trigger slap. I highly recommend them. Here you can see the large cylindrical side of the rivet.
Reassembly
After refinishing, I tried to mount the rifle to my reassembly stand – which holds the rifle by the magazine well. To my surprise, my well-worn magazine wouldn’t fit. None of the 4 magazines I use for test fitting (various sizes and countries of origin) would fit. The selector stop plate had not been adjusted at all. So I had to narrow the plate with a small file with the receiver wrapped in thin cardboard to prevent accidently slipping and scratching the fresh paint. Had I realized I’d have to do this, I would probably have removed the magazine catch rivets. Then I can use the AK-Builder plate and 4 screws to test fit the plate during adjustment, before riveting it.
It is critical that you adjust the selector stop plate and not the magazine catch. The SAIGA SGL-10 is of the AK-100 series – that is, there is no feed ramp, and it utilizes a rivet instead of the trunion to initiate bolt rotation (It also uses a 5.45 bolt body and bolt carrier). It feeds directly from the magazine. Adjusting the magazine catch will hold the magazine too low.
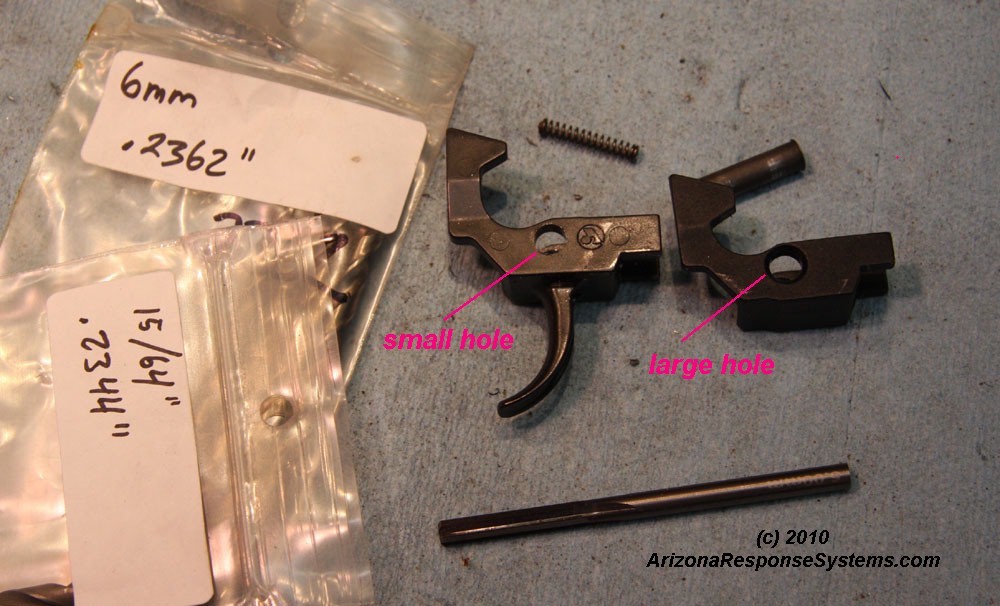
During re-assembly, I also discovered that the trigger K-Var included in their “kit” is not compatible with the disconnector Arsenal used in the rifle. There are two types of otherwise identical single claw Arsenal units. One has a 6mm outer diameter hole and uses a sleeve with a 5mm inner diameter to keep the trigger and disconnector as an assembly. The other uses a 5mm hole and no sleeve. Well, the kit came with the small hole trigger and the large hole disconnector. I drilled out the trigger to just under 6mm, which due to its hardness requires good drill bits, and then reamed to 6mm. The disconnector may also have to be narrowed slightly to fit in the trigger – this is common on K-Var disconnectors. Also, the hammer I received needed some dressing for a smooth release – this was common on the oder K-Var hammers, but later ones I’ve received K-Var had already reground the engagement surfaces to get rid of that nasty burr. You can tell by the smell of cold-blue if its already done.
This completes the conversion.

Leave a Reply
You must be logged in to post a comment.