Introduction
Congress banned the importation of “Assault Rifles” in 1989. Certain features differentiated a “sporting rifle” from an “assault rifle”. Features included: detachable magazine, pistol grip, bayonet mount, flash hider, and folding stock. Importers modified their rifles to comply with the law by substituting a thumbhole stock for the pistol grip, removing bayonet mounts and flash suppressors, as well as the threads for installing a flash suppressor. ATF accepted these cosmetic changes as turning an assault rifle into a sporting rifle. ATF changed their interpretation in 1994 and disallowed the thumbhole stock as a means of neutering an otherwise normal rifle.
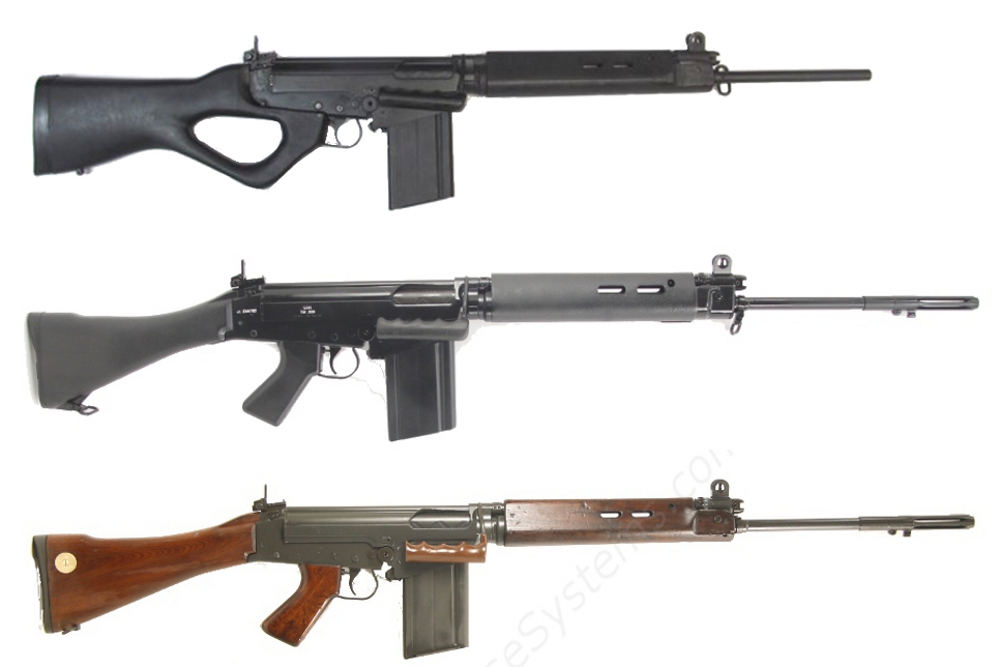
Century Arms imported many of the FAL/L1A1 type rifle from 1989 to 1994. They were assembled in Canada at CAI’s sister company, CIA; utilizing Brazilian (IMBEL) and Argentine (DGFM-FMAP) receivers and mostly British parts. Argentine receivers are differntiated from the Brazilian by a relief cut behind the hinge pin hole. Since both the Brazilian and the Argentine receivers were originally patterned for the FAL rifle, some accommodations had to be made to utilize the L1A1 (inch) parts kits.
The terms “inch” and “metric” create much confusion. They should really be called FAL (European) or L1A1 (Commonwealth) as neither has any metric threading. That’s right . . .. there is no metric threading on a “metric” FAL, everything is standard imperial thread. But the names have stuck. There are some differences between the L1A1 and the FAL that require modification to use L1A1 parts on a FAL receiver. CAI did some of these modifications on some receivers, but not with any consistency – so these receivers are hybrids, being neither FAL (metric) or L1A1 (inch). Modified areas on the receiver may include:
- magazine well
- top cover clearance
- folding cocking handle clearance
This tutorial is to help you understand what needs to be done – ARS can do the work for you, or a modestly skilled person can do the work himself, using this page as a general outline.
You will need some or all of these parts. ARS usually has these parts available for purchase
- Phillips screwdriver (for removing thumbhole buttpad screws)
- square drive (for removing thumbhole pistol grip screws)
- flat screwdriver or 7/16 Allen key for grip screw
- FAL/L1A1 stock tool (screwdriver incorporating a spring guide)
- shoulder stock, plastic or
- shoulder stock, wood
- buttplate, plastic stock: short, normal, long or extra long, or
- buttplate, trap door, wood stock
- buttplate screw
- buttpad plug, plastic stock
- rear sling swivel & screw, plastic stock or
- rear sling swivel & screw, wood stock
- buttplate wood screw, wood stock only
- pistol grip plastic or
- pistol grip, wood.
- trigger guard with wood or plastic grip plate
- trigger guard, wood (machine screw) or plastic (wood screw)
- trigger return plunger
- trigger return plunger spring
- trigger spring plate (if yours has the tab cut off)
- trigger spring plate screw
- grip screw (1/4×28 socket head is approved substitute)
- grip screw lock washer (star type)
- fabricated grip stud.
This is what you are probably starting with
This is what you want to end up with.
We need to deal with the naked muzzle.
And we need to get rid of the thumbhole stock. Remove the lower from the upper by unscrewing the hinge pin. While retaining the hammer with your hand, pull the trigger, which will release the hammer spring. You will see underneath a slotted screw or hex bolt. Remove this to free the pistol grip side.
If you pull on the edges of the rubber buttpad, you will see two razor slits. Lubricate a Phillips screwdriver and slide into this slit. You will feel a Phillips head screw underneath, about 3/4″ in from the toe and heel. Remove these to remove the buttpad and expose the recoil spring tube plug. Use the stock tool to unscrew this plug and free the spring. The thumbhole stock should now come off.
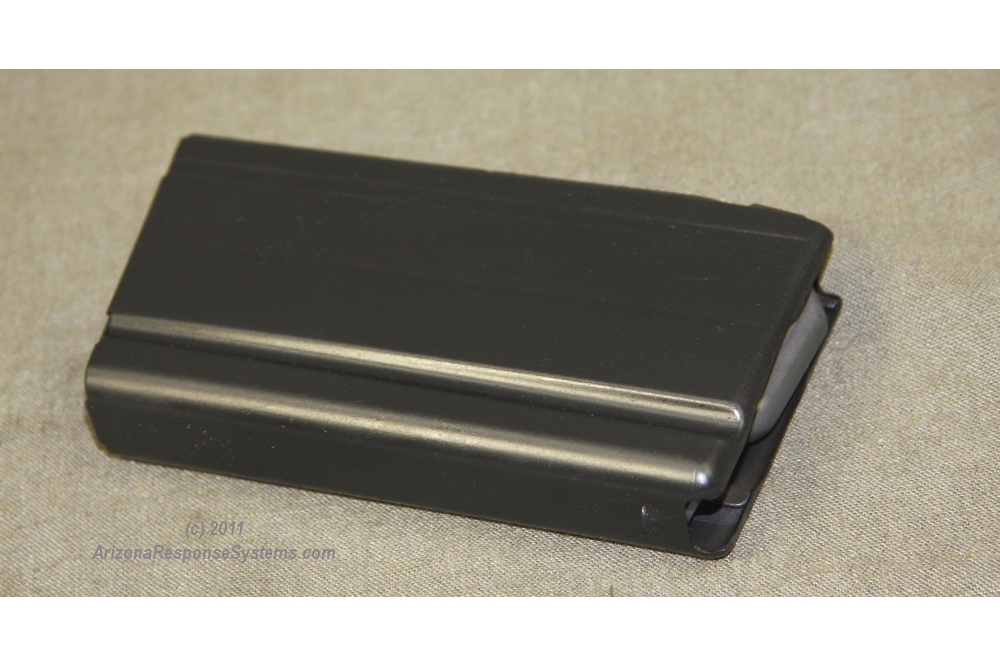
We also must determine which magazine is suitable. The magazine well is the most significant difference. The FAL uses a small, half-circular cut-out for the front of the magazine well. The L1A1 uses a wide rectangular cut-out. There are corresponding shaped tabs on the front of the magazine. While it is true that a FAL magazine fits in an L1A1, it has no front support for the magazine so does not feed reliably.
L1A1 magazines are more scarce and more expensive than FAL magazines, one should simply choose magazines based on what magazine well you have.
It is possible to convert a FAL magazine well to an L1A1 magazine well, but it is challenging.
Here is the clearance for the folding cocking handle. The folding cocking handle requires a clearance cut on the receiver. Once the cut is made, the non-folding cocking handle will still fit, but there is no retention for the cocking handle plunger retaining pin. Should this pin move, the gun cannot be cocked. If your receiver is not cut, you can either use a FAL cocking handle, or cut it and use a folding cocking handle. If it is already cut, you should only use the folding cocking handle.
Here is a tabbed L1A1 top cover with the clearance cuts in the receiver. The L1A1 top cover has two tabs on the rear that fit in recesses cut in the receiver. If your receiver does not have the clearance cuts for the tabbed top cover, you can use a metric top cover, or cut the tabs off the L1A1 top cover.
Since L1A1 top covers are far less common, particularly with the tabs intact, it may be foolish to “ruin’ a tabbed top cover by removing the tabs. You can trade it for a FAL.
It is possible to machine the clearances for a tabbed top cover.
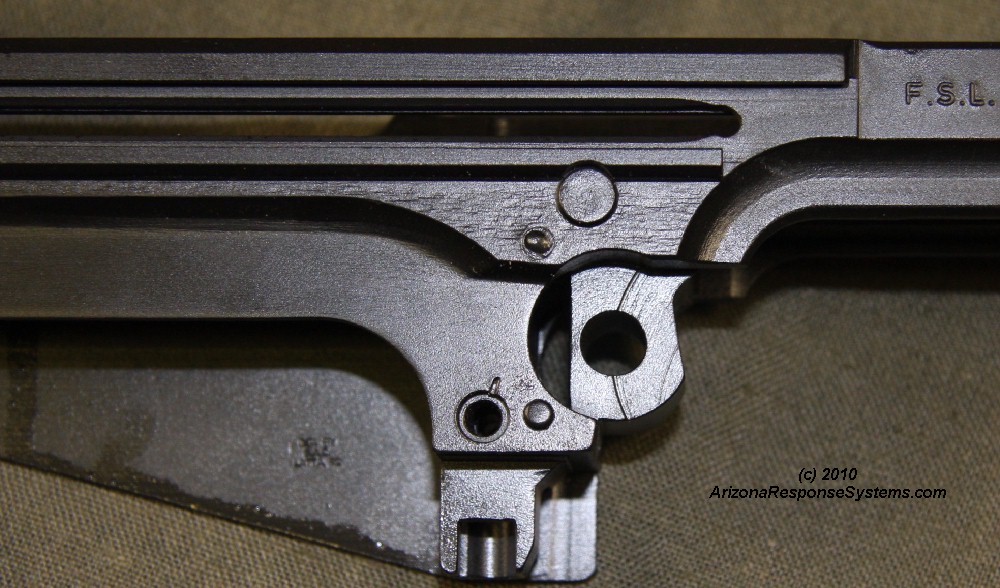
The L1A1 magazine catch spring is a larger diameter than the FAL. Its recess must be enlarged.
Open this hole to 5/32″. You may need to replace the spring as they get mangled ramming them into a too-small hole.
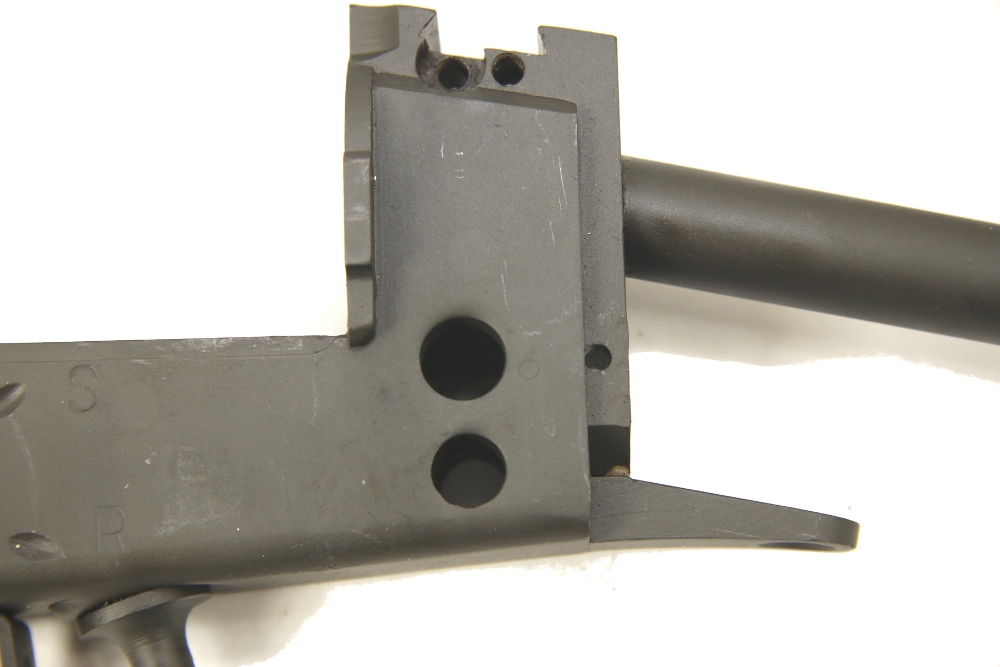
To fit the thumbhole stock on the rifle, CAI cut off the stud that supports the pistol grip. This stud positions the pistol grip front to rear. Sometimes the stud was cut off, leaving a hole of this size. Sometimes it was punched out, leaving a larger hole. When making a replacement stud, we must take measurements from our receiver.
CAI also ground off the tab at the top of the trigger plunger plate, and often cut the spring and plunger shorter (or used a different spring) – all to function with their thumbhole stock. You can weld up and reshape the tab, or replace the plate. The tab prevents lateral rotation of the pistol grip, as well as supporting the plate. Spring and plunger should be replaced. You may find a combination of square drive and Phillips head dry-wall screws in place of the correct ones. These should be replaced as well.
Fabricating a new stud from round stock. Drilled with a 1/4″ hole
Some people have successfully fabricated this stud from a brass pipe fitting, and it is retained by friction. I prefer to match the original and to solder it.
Establishing the shoulder height and the stud depth
Test-fitting the stud in a pistol grip. The shoulder should be flush.
Soldering the stud into the receiver.
Machining a flat on the front of the stud. This limits the travel of the trigger plunger, which is another reason the missing stud results in a loose pistol grip and erratic trigger pull.
New stud. I also machined off the old serial number off the lower and restamped it to match the new upper receiver.
You can now use a regular grip and stock.
Now for the muzzle threads. Original barrel, CAI “neutered” barrel, and rethreaded barrel.
The step on the barrel for flash hider clearance is moved back 1/2″, and the threads cut.
The keyway for the flash hider retaining key finishes the barrel modification. We can select a timing washer and install the flash hider..
Keyway location is different for the PNG F1 short flash suppressor.
Royal New Zealand Air Force variation shown to illustrate the wood furniture option. While I have plenty of wood stocks and grips, I have no wood handguards.
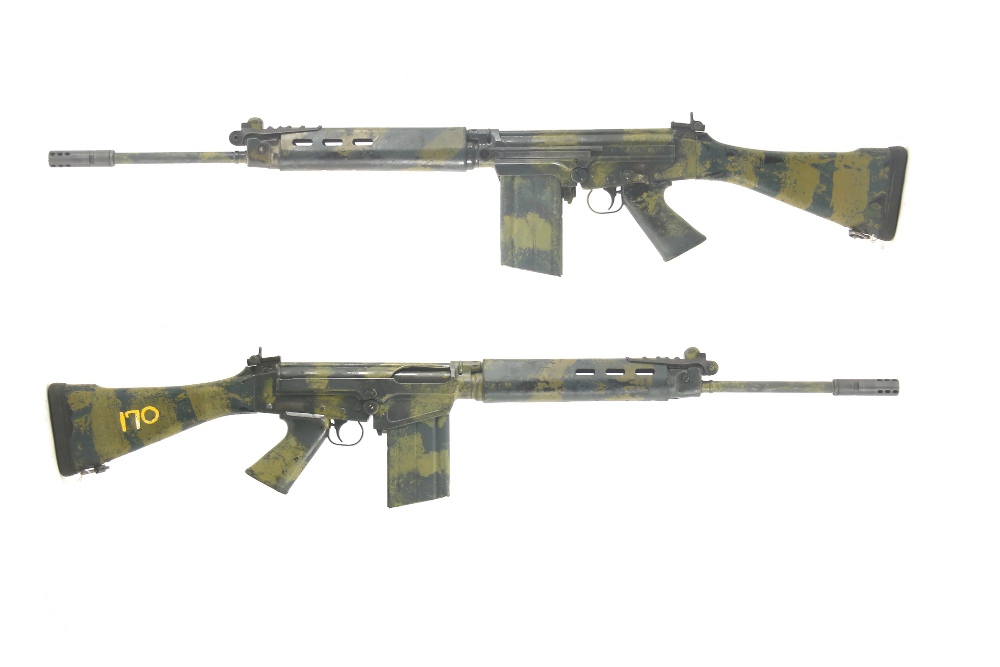
British Configuration
- BLACK finish, PLASTIC furniture (your handguards)
- $650 complete rebuild package, black over Parkerizing
- $100 parts – (plastic grip & stock only assembly, locking shoulder, flash etc.)
- $ 60 return ship complete rifle
- —
- $810 (prices subject to change)
- Above includes function testfire & zero and 1 year warranty on work.


Leave a Reply
You must be logged in to post a comment.