
Tool Tutorial: Building a Gunsmith Tool Holder
(updated 04-09-2020)
Introduction
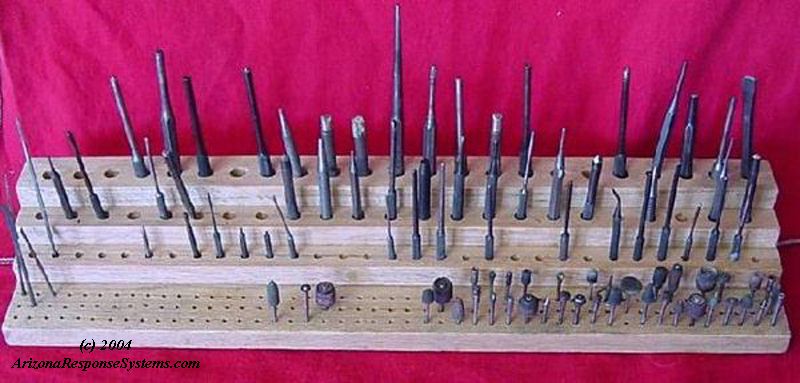
There are some commercial tool-holders sold. None met my specific needs. I made one out of pine similar to the one shown here. It worked well, but I outgrew it quickly and wanted to make some improvements. This is the improved model. It is oak and 24″ wide. You can adjust your material length as needed. Home Depot & Lowes sell oak planks in various pre-cut lengths, as well as cut-to-length with their miter box. My cosmetic preference is red oak. Since I already had built one and had a little practice, I was able to get this one together in about 2 hours with $20 in materials.
Materials
Please note that the dimensions of lumber are taken before they are planed for smoothness, so actual width and height dimensions are smaller than what is shown on the label.
- Plank, oak, 2″ x 1″ x 24″ (actual 1-1/2″ x 3/4″ x 24″)
- Plank, oak, 3″ x 1″ x 24″ (actual 2-1/2″ x 3/4″ x 24″)
- Plank, oak, 4″ x 1″ x 24″ (actual 3-1/2″ x 3/4″ x 24″)
- Plank, oak, 6″ x 1″ x 24″ (actual 5-1/2″ x 3/4″ x 24″)
- Wood Glue
- Wood Clamps or C-Clamps
- Drill press or hand drill with stops.
- 9/64″ drill bit (for 1/8″ rotary tool bits)
- 17/64″ drill bit (for 1/4″ punches)
- 25/64″ drill bit (for 3/8″ punches)
- 33/64″ drill bit (for 1/2″ drill bit)
- (3) 1″ wood screws
- (3) 1-1/2″ wood screws
- (3) 2″ wood screws
- Wood sealer such as Tung Oil, Tru-Oil, Linseed Oil, etc.
Assembly

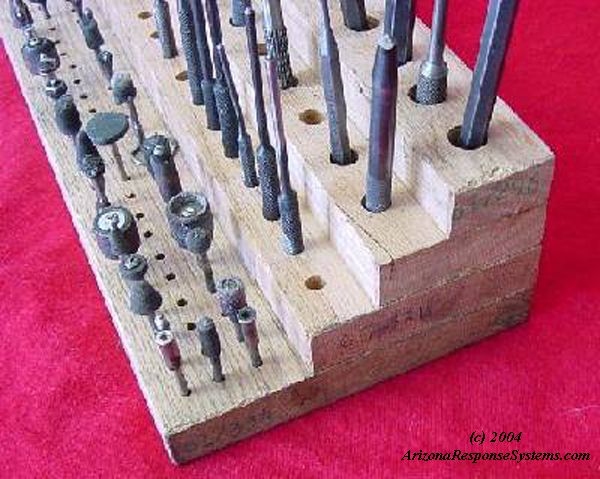
Sequence is important. Some holes are drilled before gluing, some are drilled after gluing.
- Stack together as shown and pencil a line showing position of each board.
- On 6″ board, mark 3 equal distant points 1/2″ apart, centered, and repeat at 1/2″ intervals for the width of the plank.
- Drill marks 1/2″ deep with a 9/64 bit. Do this before gluing.
- On 4″ board, mark points at 3/4″ interval centered.
- On 3″ board, mark points at 1″ intervals, centered.
- On 2″ board, mark points at 1″ intervals, centered.
- Glue all four boards together, clamp, at let dry.
- Drill 4″ board on marked points with 17/64 holes for 1/4″ tools. Drill 1″ to 1-1/8″ deep (stop half way through the plank below).
- Drill 3″ board on marked points with 25/64 holes for 3/8″ tools. Drill 1″ to 1-1/8″ deep (stop half way through the plank below).
- Drill 2″ board on marked points with 33/64 holes for 1/2″ tools. Drill 1″ to 1-1/8″ deep (stop half way through the plank below).
- Optionally re-enforce wood glue by using wood screws at the bottom of holes. Pre-drill holes in oak before inserting screws to prevent splitting or shearing of screws. It is tough wood.
- Sand lightly to remove burrs. Chamfer corners. Oil and let dry.
- After using this tool holder for a while, I decided to turn the left side, bottom row 1/8″ holes into larger holes to hold my screwdriver tips. If I were to build another one, I’d space the holes on the bottom row, left side, a little further apart to accommodate the screwdriver tips better. Right now I think they are too close together to pull the screwdriver tips out easily.
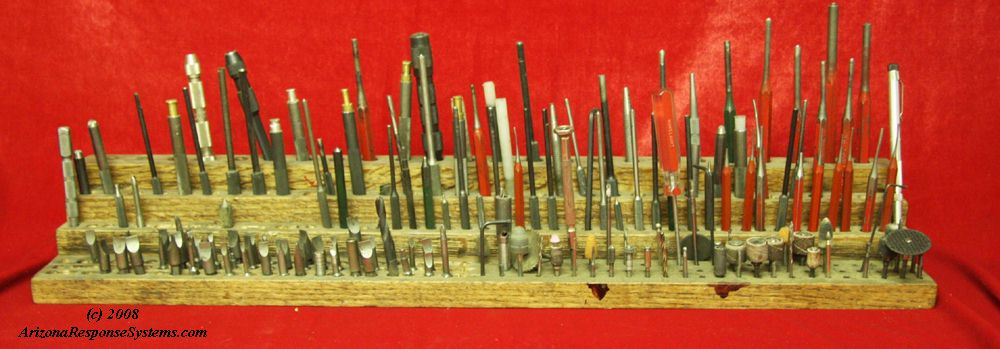
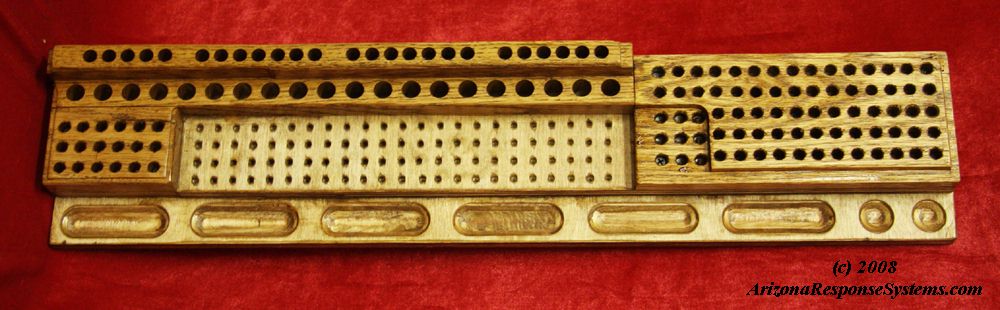
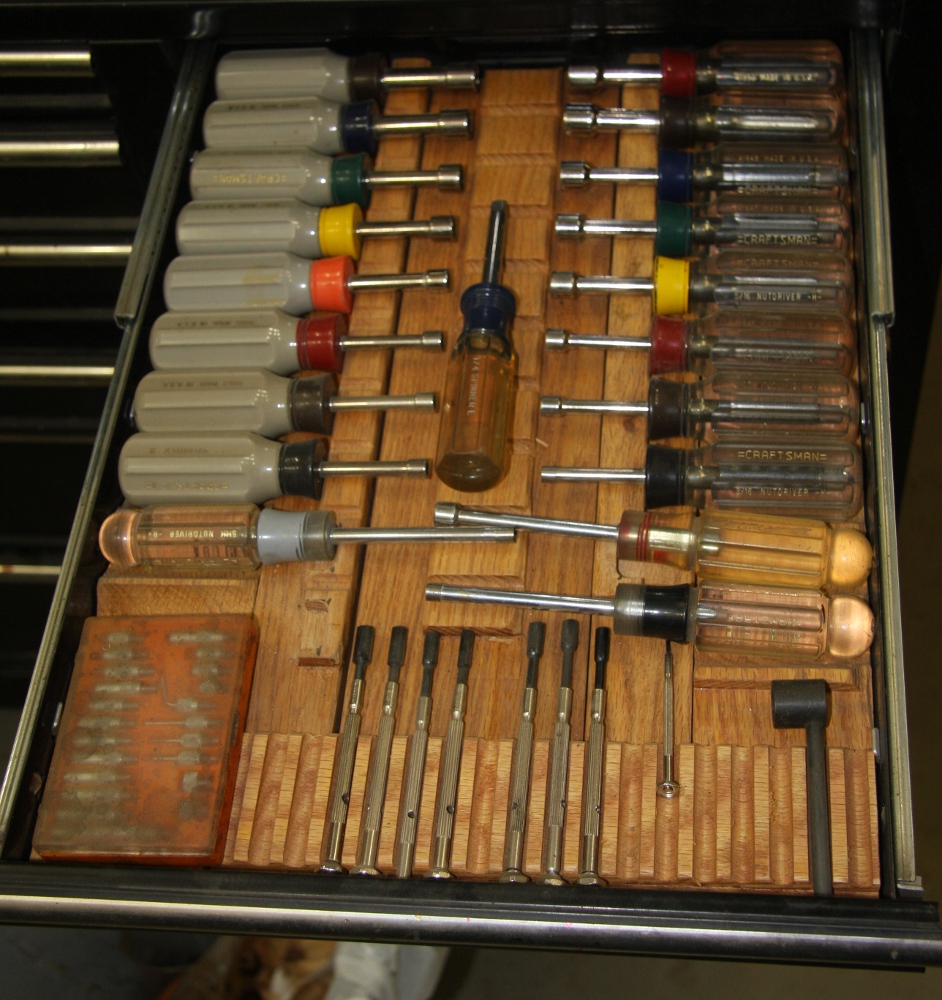
Finished Tool Holder
Here is the same tool holder after years of use. I decided I wanted the screwdriver bits on the side, so I shortened it and glued in another piece with appropriate hole spacing.
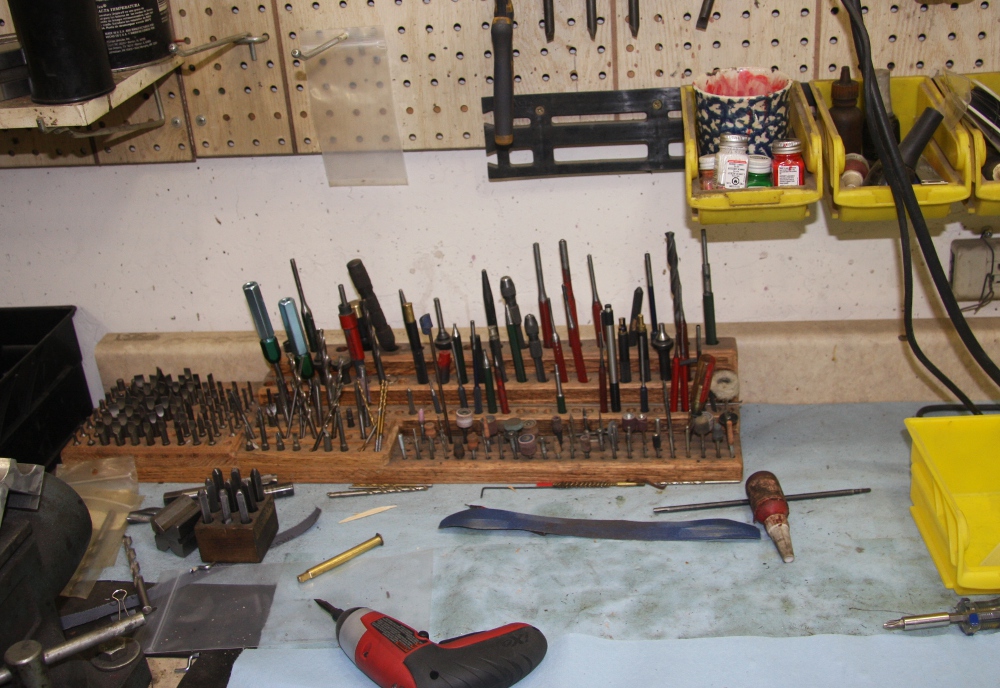
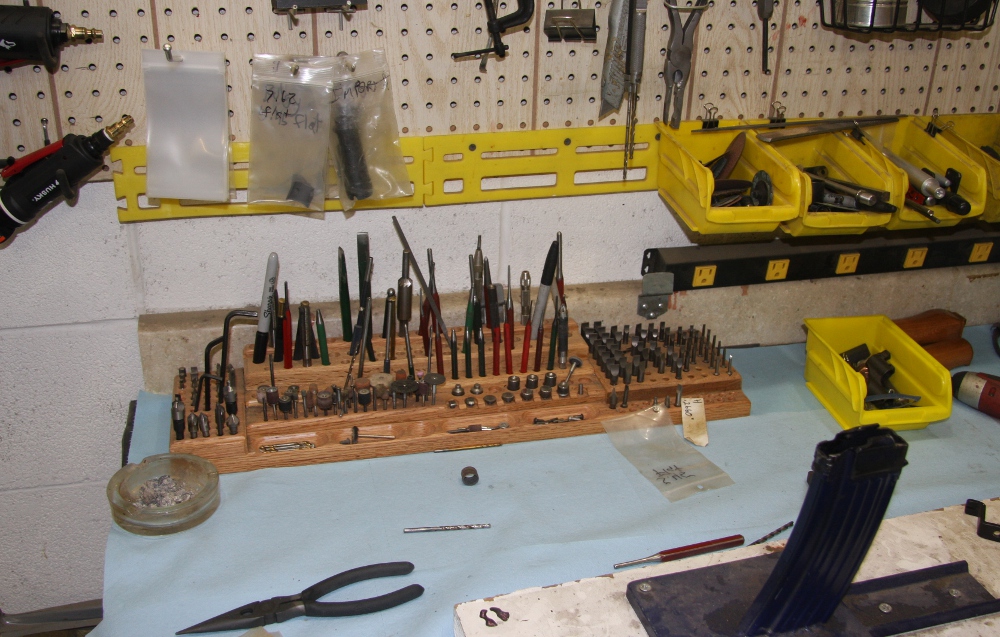
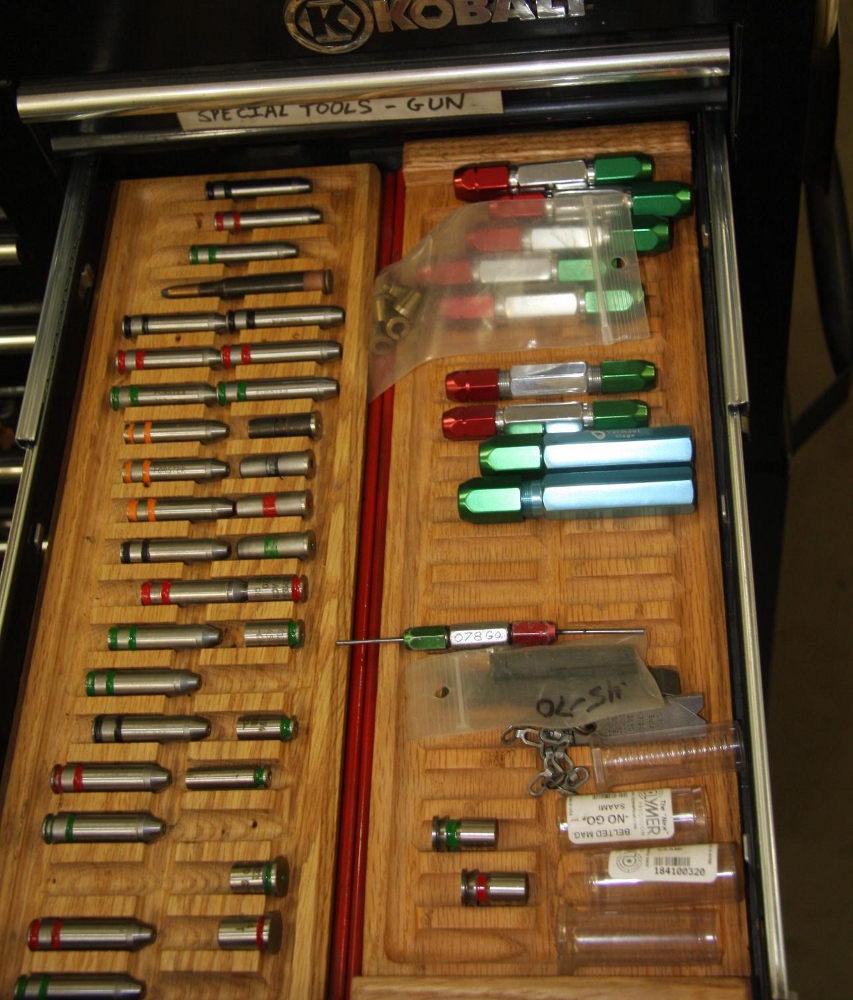
I was setting up another bench dedicated to AK-47 work and decided to make another tool holder. I had several small pre-drilled oak blocks left over from some tool sets, as well as a strip of 1″ square oak stock. I also had some 1/2″ plywood with a nice veneer on one side, so I put this one together. I milled some oval “trays” on it for holding small parts. Staining the lighter plywood veneer helped obtain a closer match to the oak pieces.
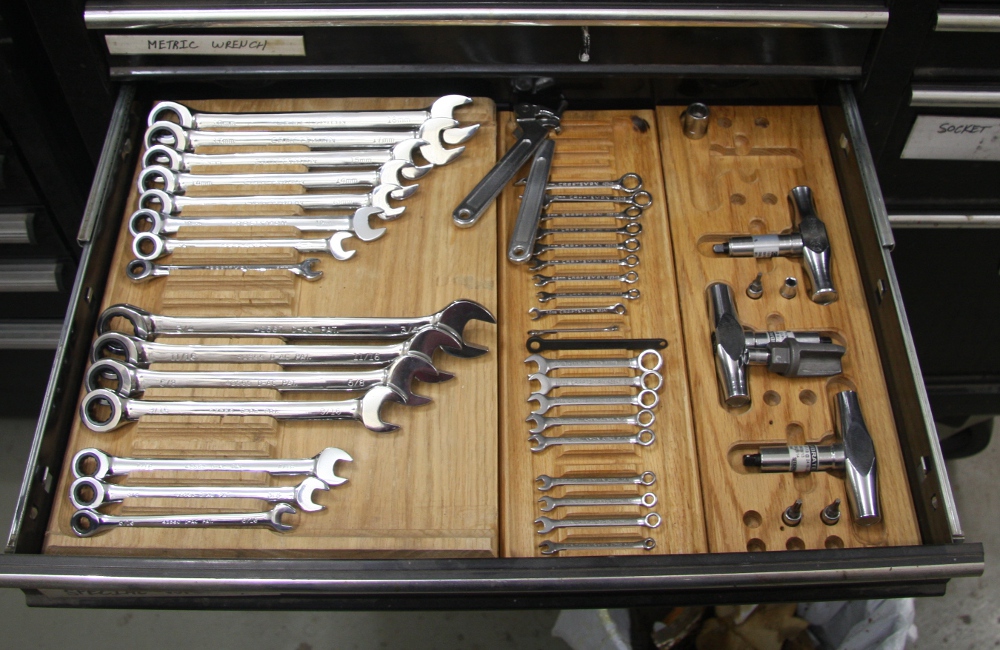
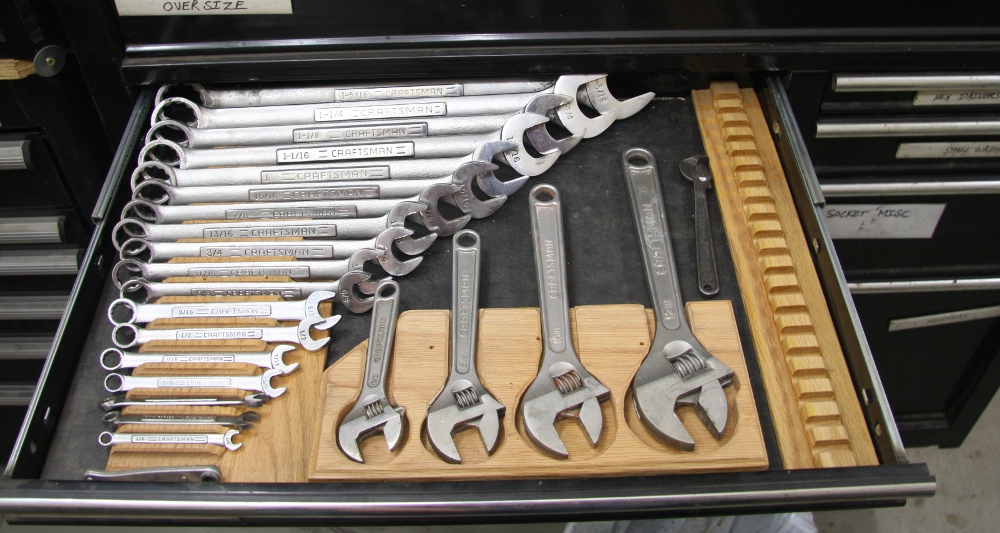
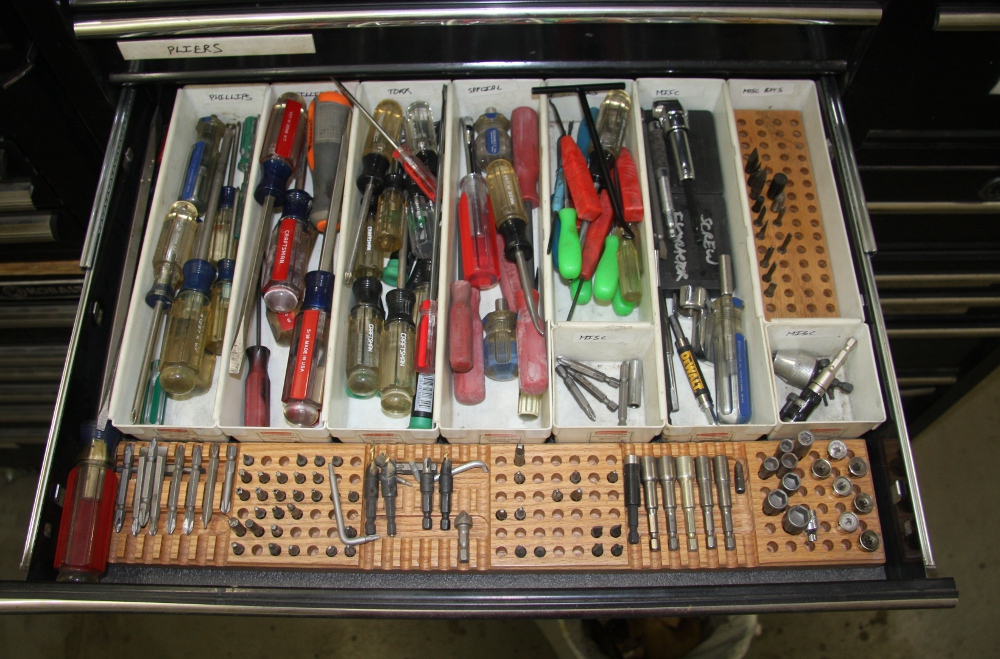
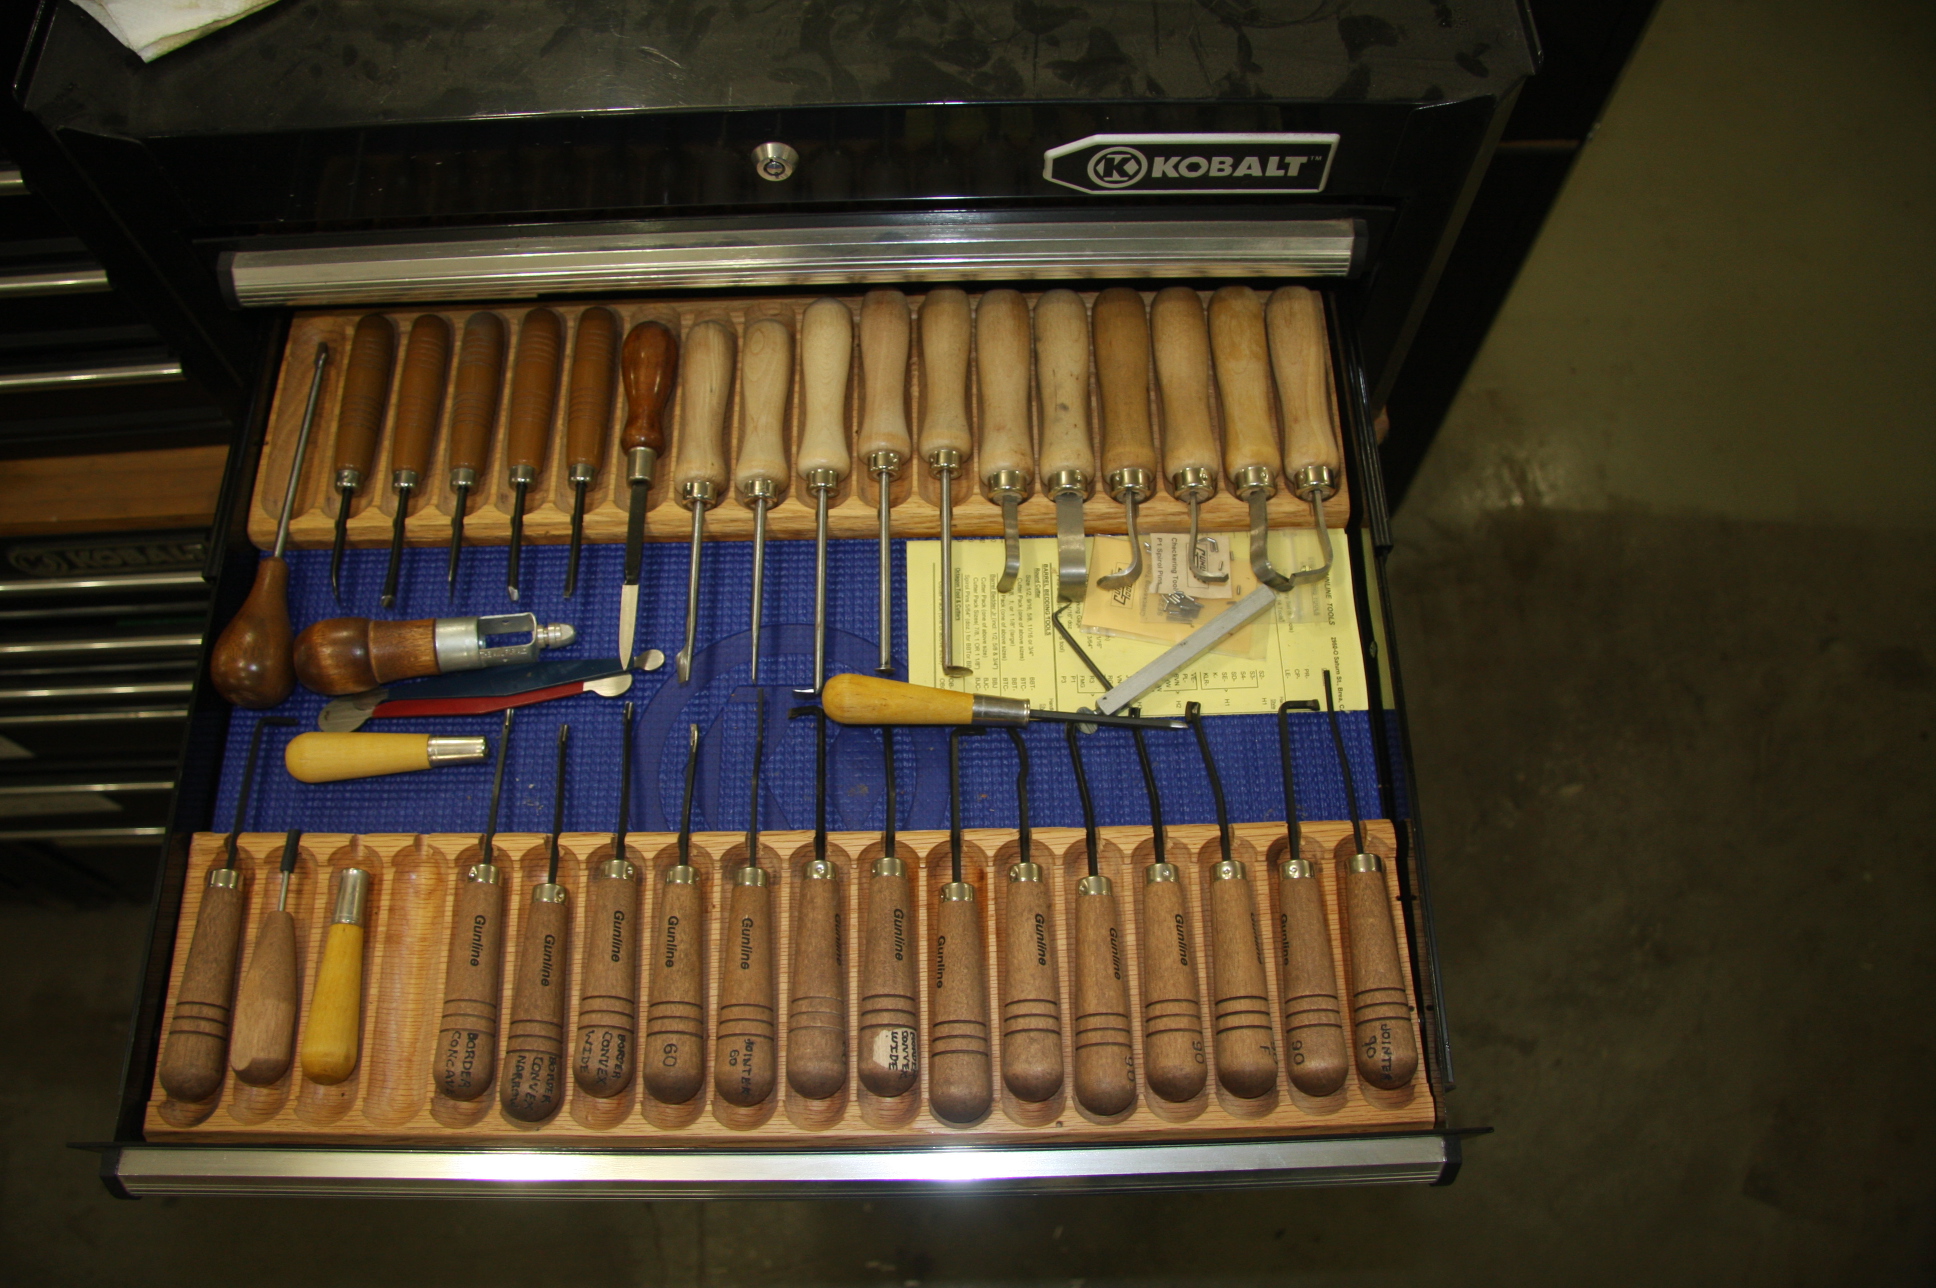
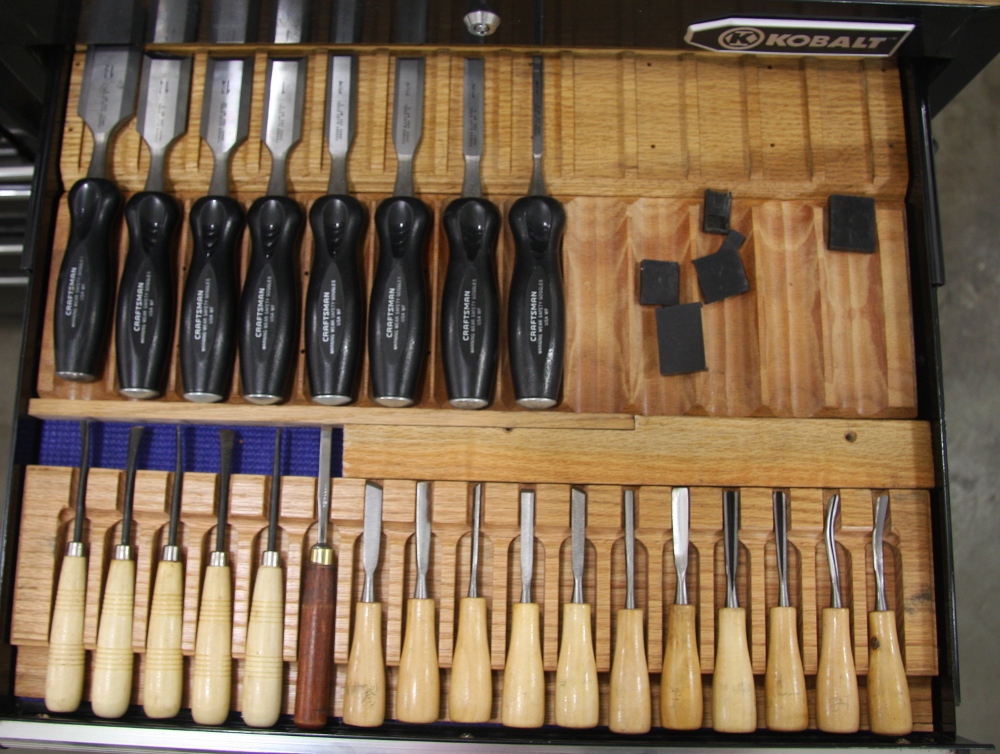
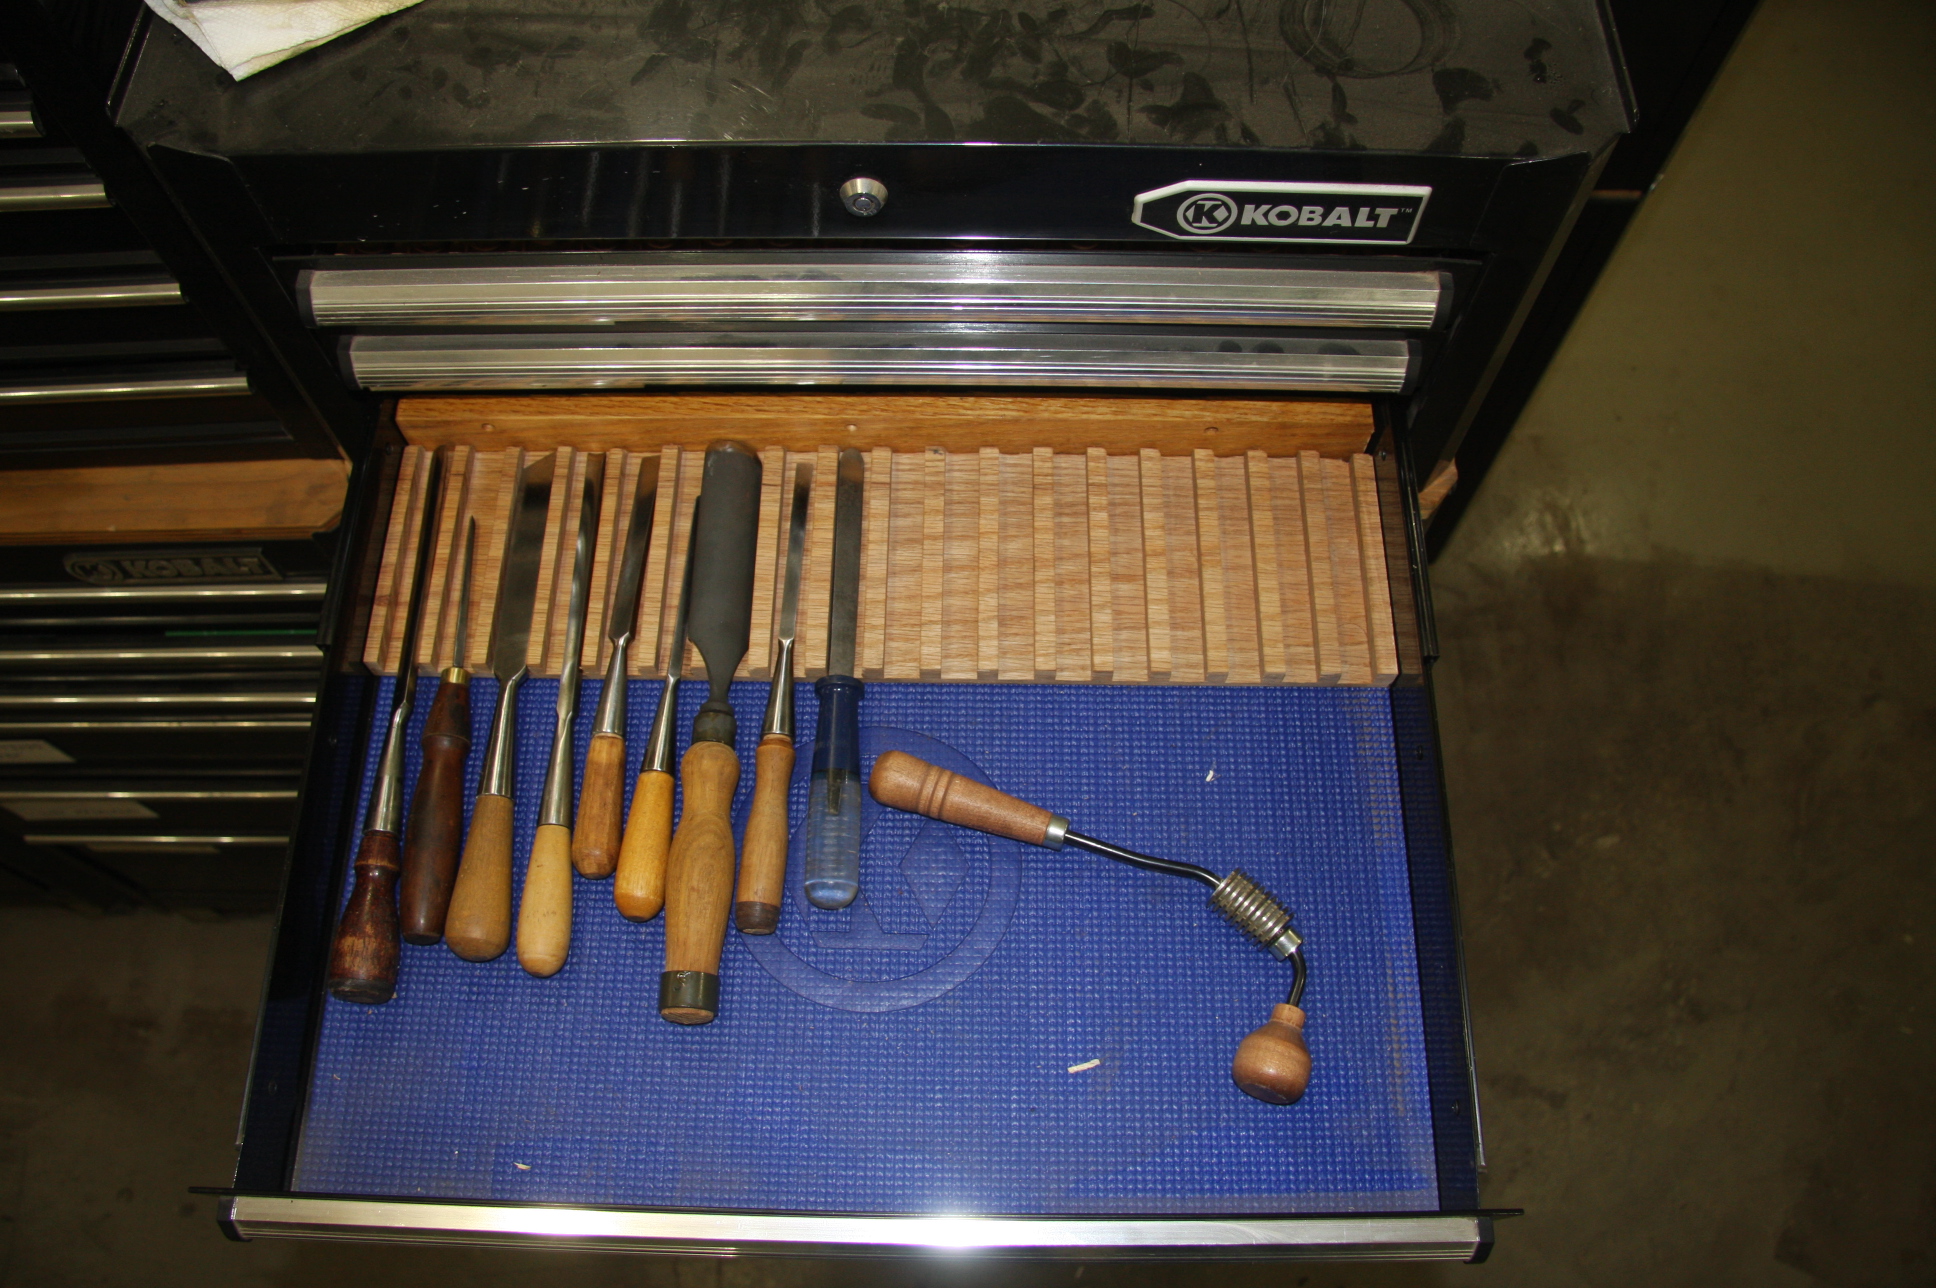
Drawer Inserts
There are plenty of plastic drawer-insert tool holders for the automotive industry tool chests, but none suited me. They either didn’t make good use of limited drawer space, or didn’t correspond well with the tool combinations I use in gunsmithing, or the price/value didn’t excite me.
I had built a number of oak shelves for my man-cave, and a decade later they were no longer suiting me. So I took them down. What to do with a bunch of oak shelves? I re-purposed them as drawer inserts for my tool chests. Various arrangements accommodated the different heights and configurations I needed.
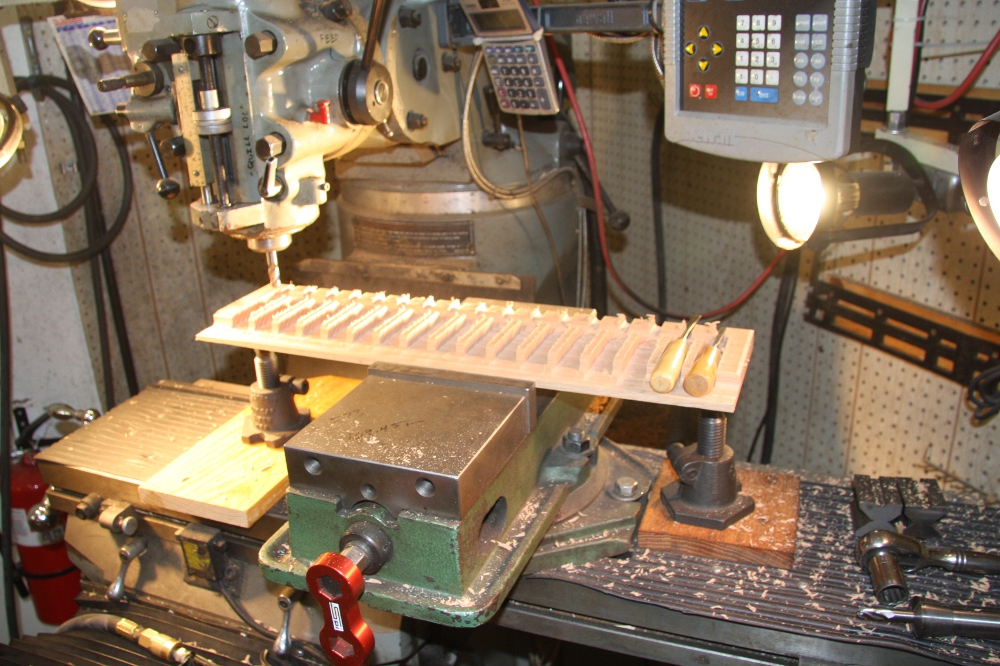
The basic construction principle was to hold the plank in the mill, and cut so as to leave about 1/8″ at the bottom. Using a ball end-mill on the divider edges and the more-narrow slots, reduces the stress (compared to square edges and corners.

Leave a Reply
You must be logged in to post a comment.